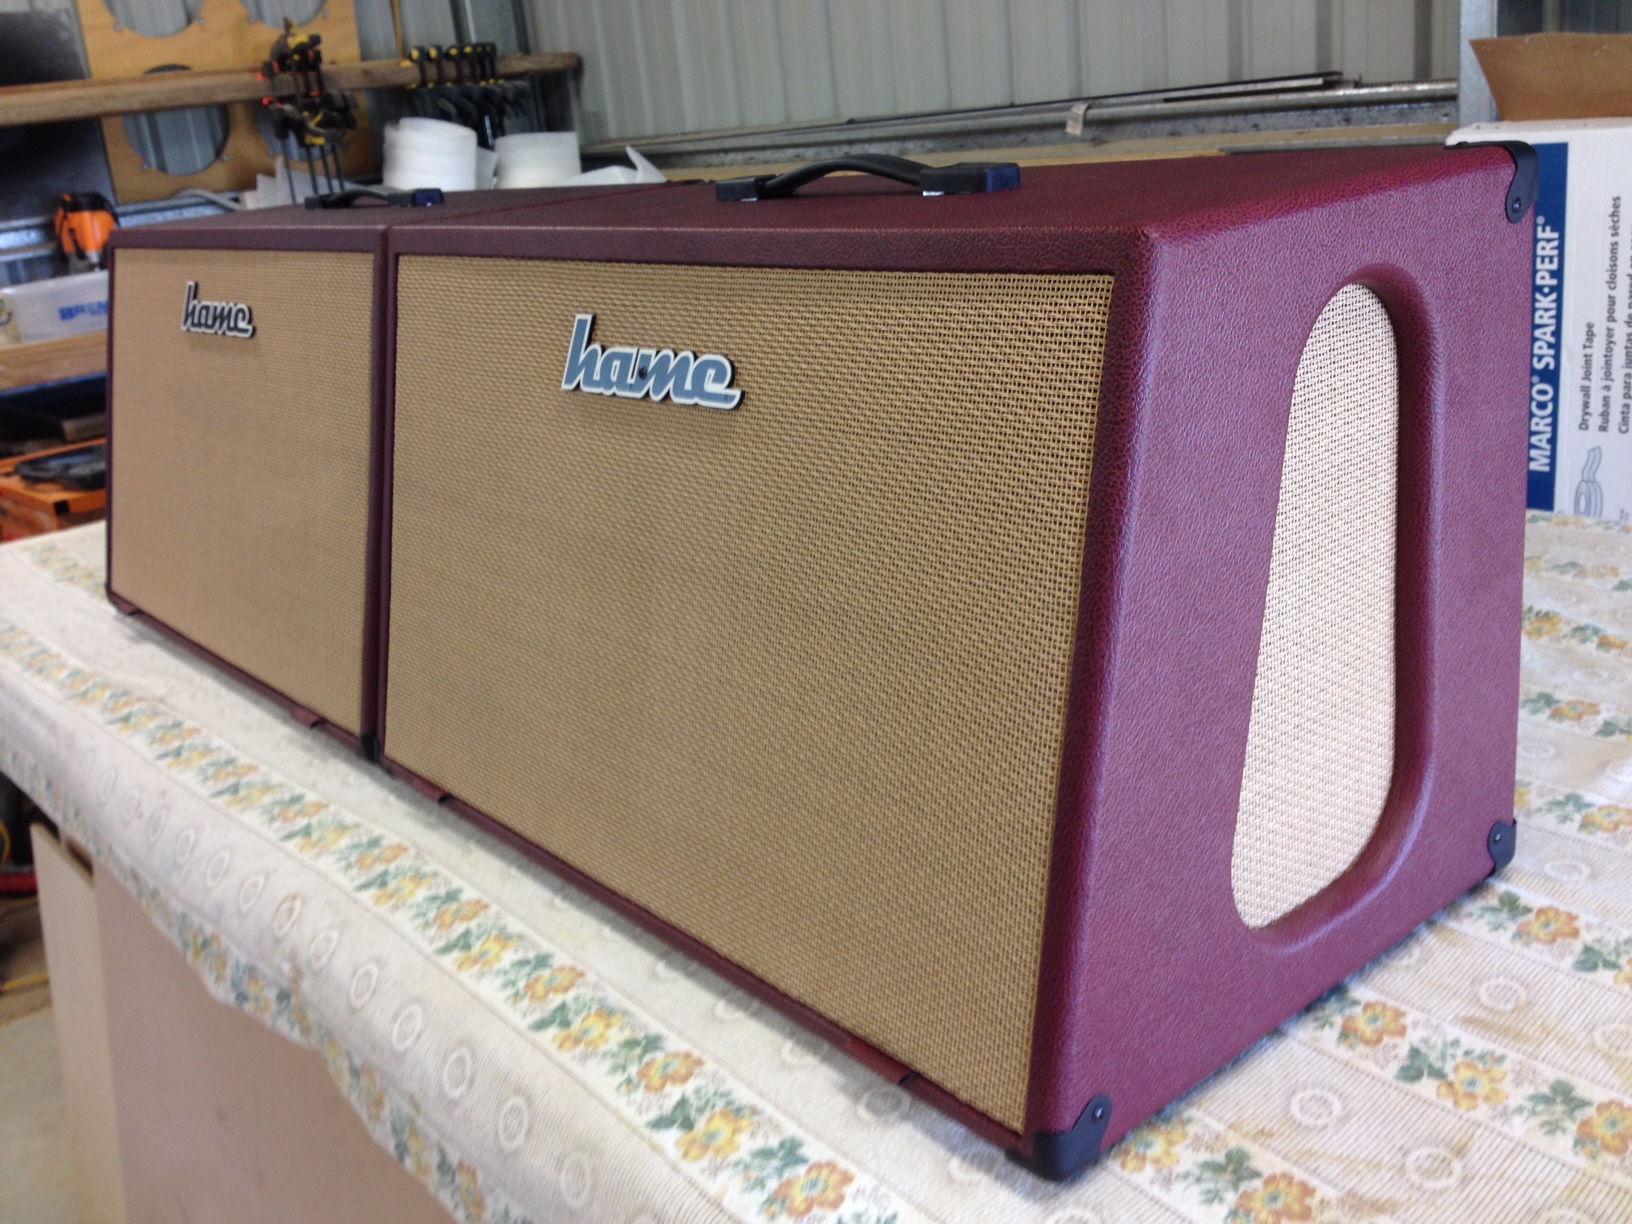
the modded C5
Welcome back ! Over the last couple of years, in our blog pages we have presented MODs to the Marshall JTM600/JCM600 amps, Peavey Valveking 100, Fender Pro Junior & Blues Junior, Laney LC30, amps by Rivera, bass amps by David Eden, plus wah wah pedal MODs. We offer all these MODs and more here in our Wyoming workshop.

Marshall Class 5
In the coming weeks we will publish a blog re our home-grown MODs to the HIWATT 20H valve amp head, which is a seriously disappointing amp (sorry about that, HIWATT !). But our latest MOD project to present to you is the Marshall C5 amp. These amps have sold really well in OZ due to a very reasonable price point for a made-in-UK Marshall with an all-valve (tube) signal path.

Marshall Class 5
Unfortunately, the C5 straight out of the box is not an amazing sounding amp. The 3-band tone controls do not seem to have a particularly effective sweep, and especially not at the frequencies you expect from a Marshall (ie, the “Plexi” or “Super Lead”), plus due to the absence of a master volume control or attenuator – 5 watts is still too loud in some home playing or recording situations.

C5 chassis with original transformers
We agreed to implement the full range of possible MODs to this C5 for our customer, to transform the amp from a just OK unit into a high performance tone machine, with the option of turning down to conversation levels with the addition of an attenuator (controlled from the front panel).

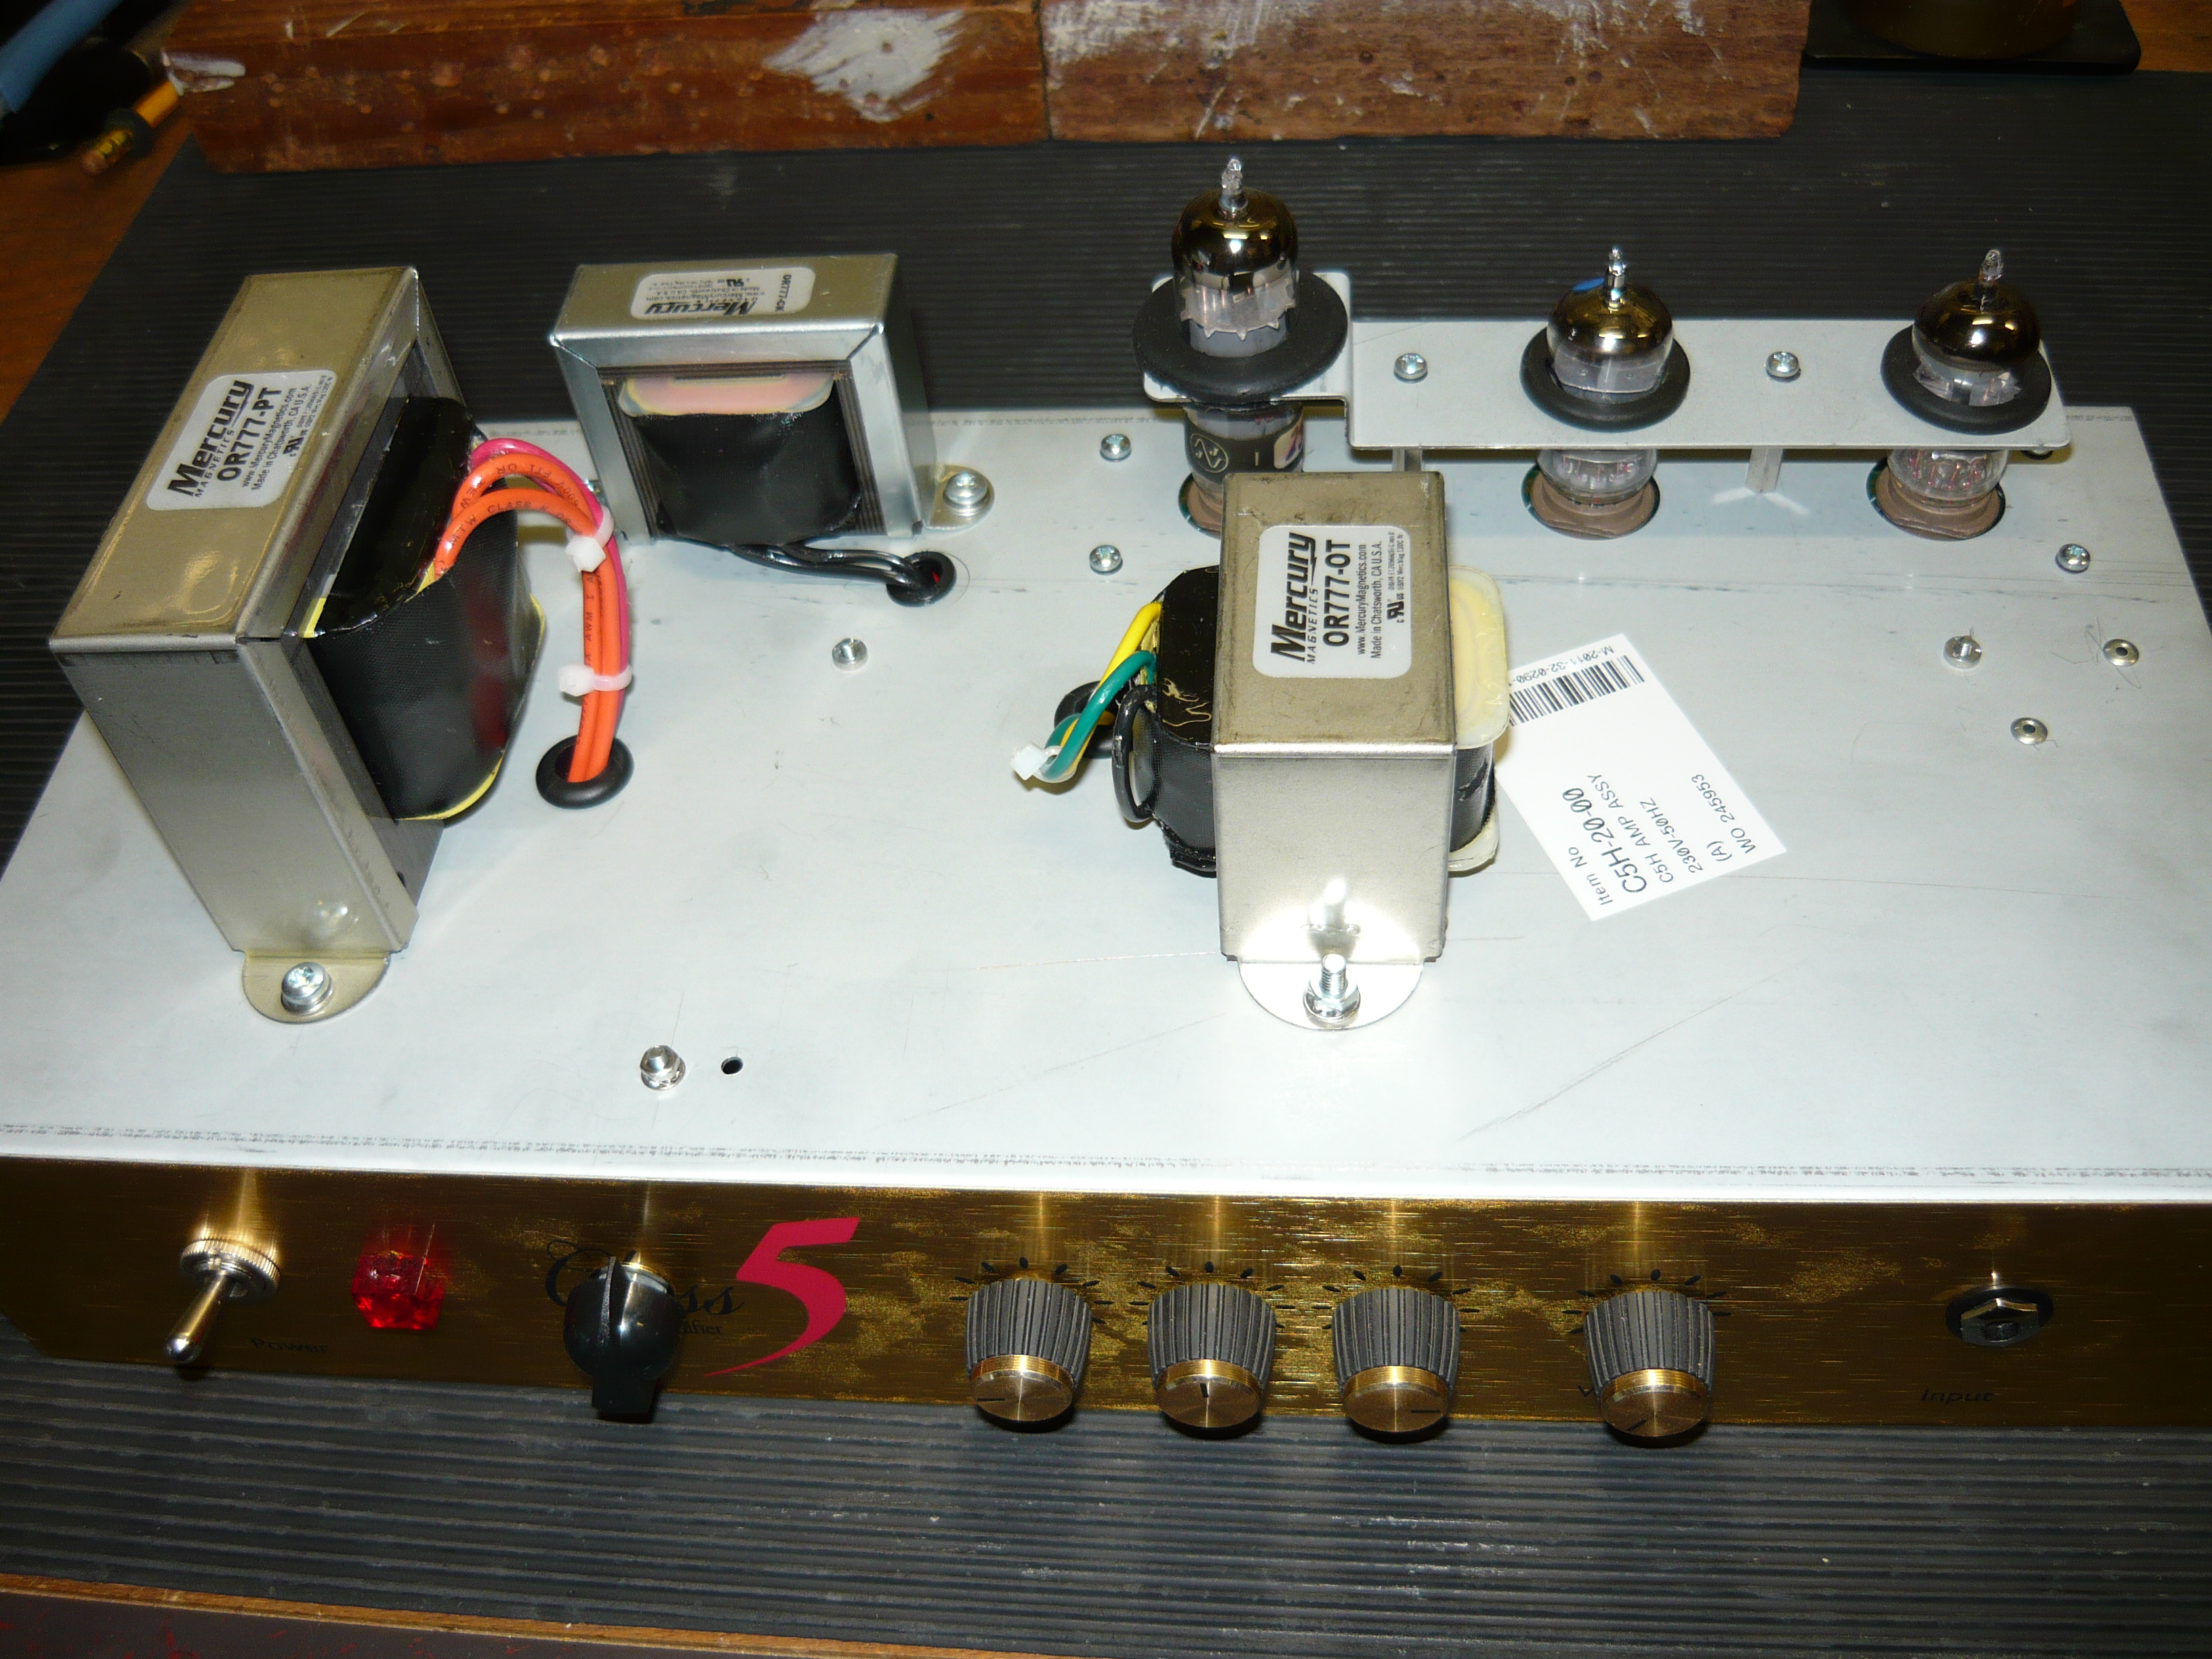
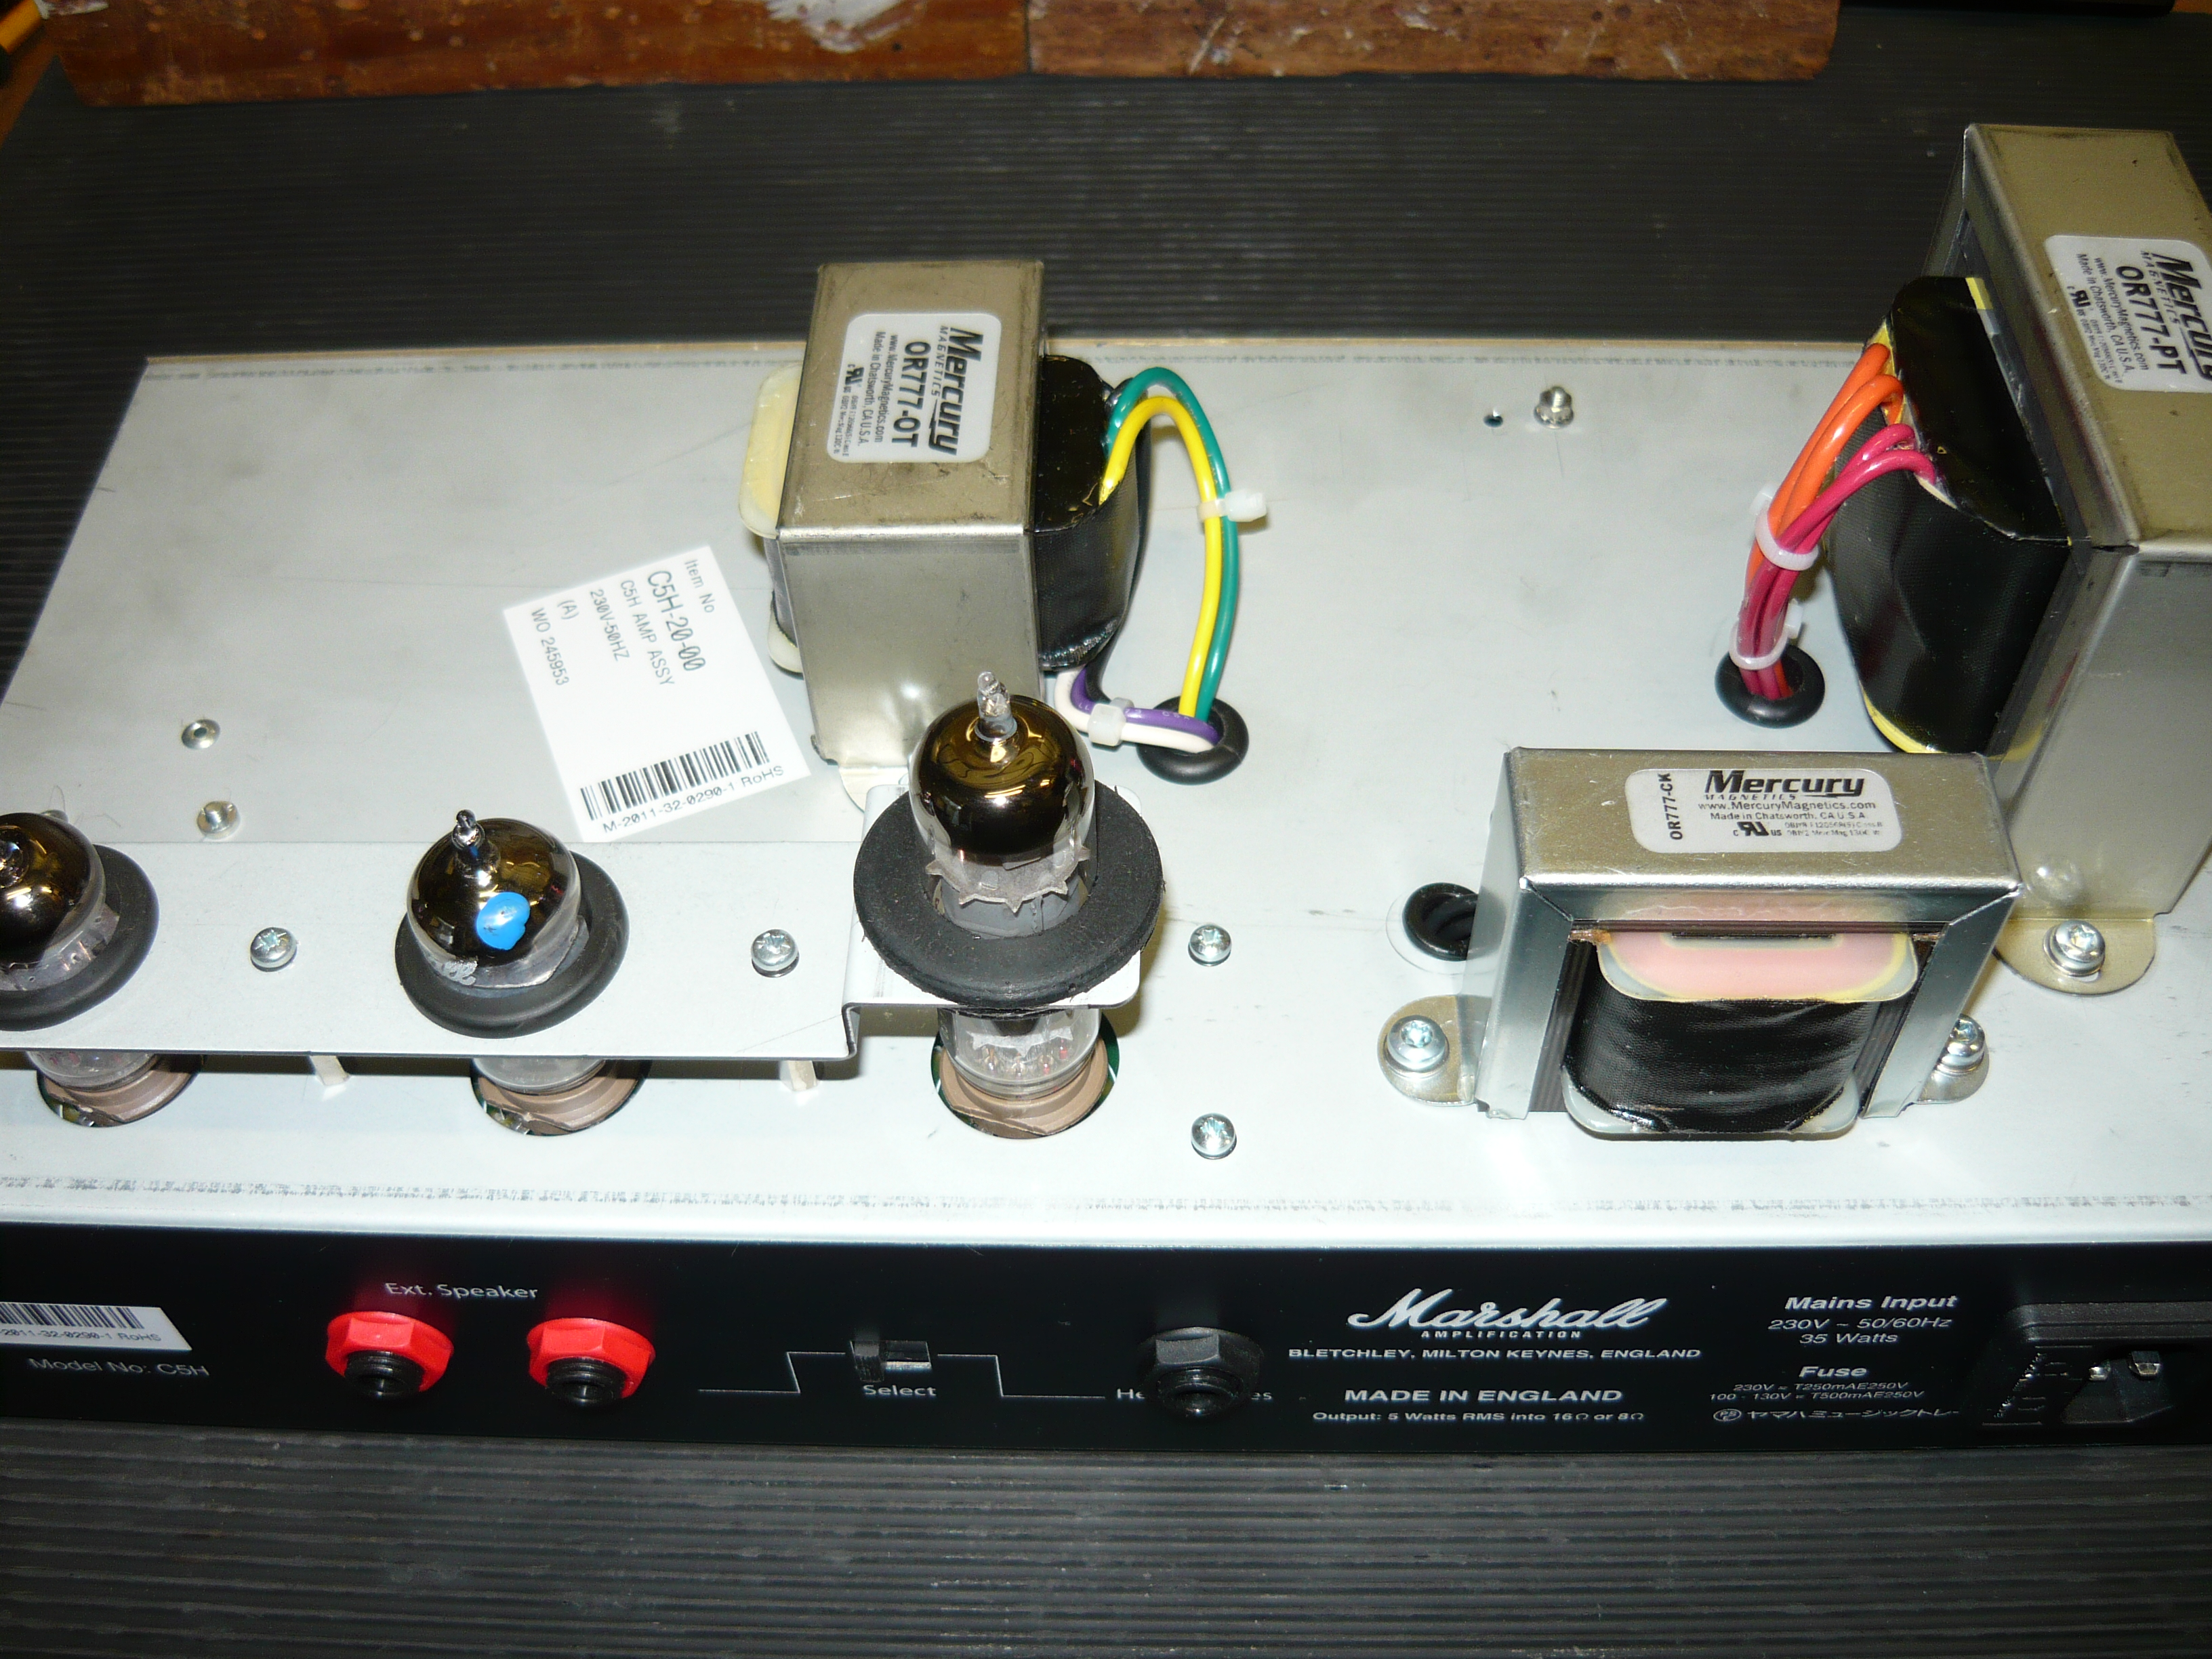
C5 chassis with mercury Magnetics transformer set installed
Mercury Magnetics have developed a transformer set specifically for upgrading the C5, which comprises power transformer, filter choke & audio output transformer. Our customer requested installation of the full set. The addition of a filter choke will improve the performance of this Class-A/single-ended design significantly.

C5 chassis after mods
Other C5 MODs that we recommend include (in no particular order): raise input impedance R20 & remove C10, change cathode bypass cap C8 for tighter/plexi lows, add a (subtle) ‘bright’ cap across VR1, change ‘bass’ EQ cap C20 to implement a useable (plexi) sweep, change ‘slope’ resistor R28 for a more balanced (plexi) sound, change signal path caps C2 & C5 for improved lows & low-mids.

C5 p.c.b. connections & installing the VVR module
There are several other potential MODs which will have a less significant effect. The law of diminishing returns starts to kick-in. Note that all the above modding requires removal of printed circuit boards (p.c.b.’s), and changes to p.c.b. connections. The final MOD to this amp is the installation of a VVR module, available commercially on-line, to compensate for the lack of a master-volume or attenuator on the C5.

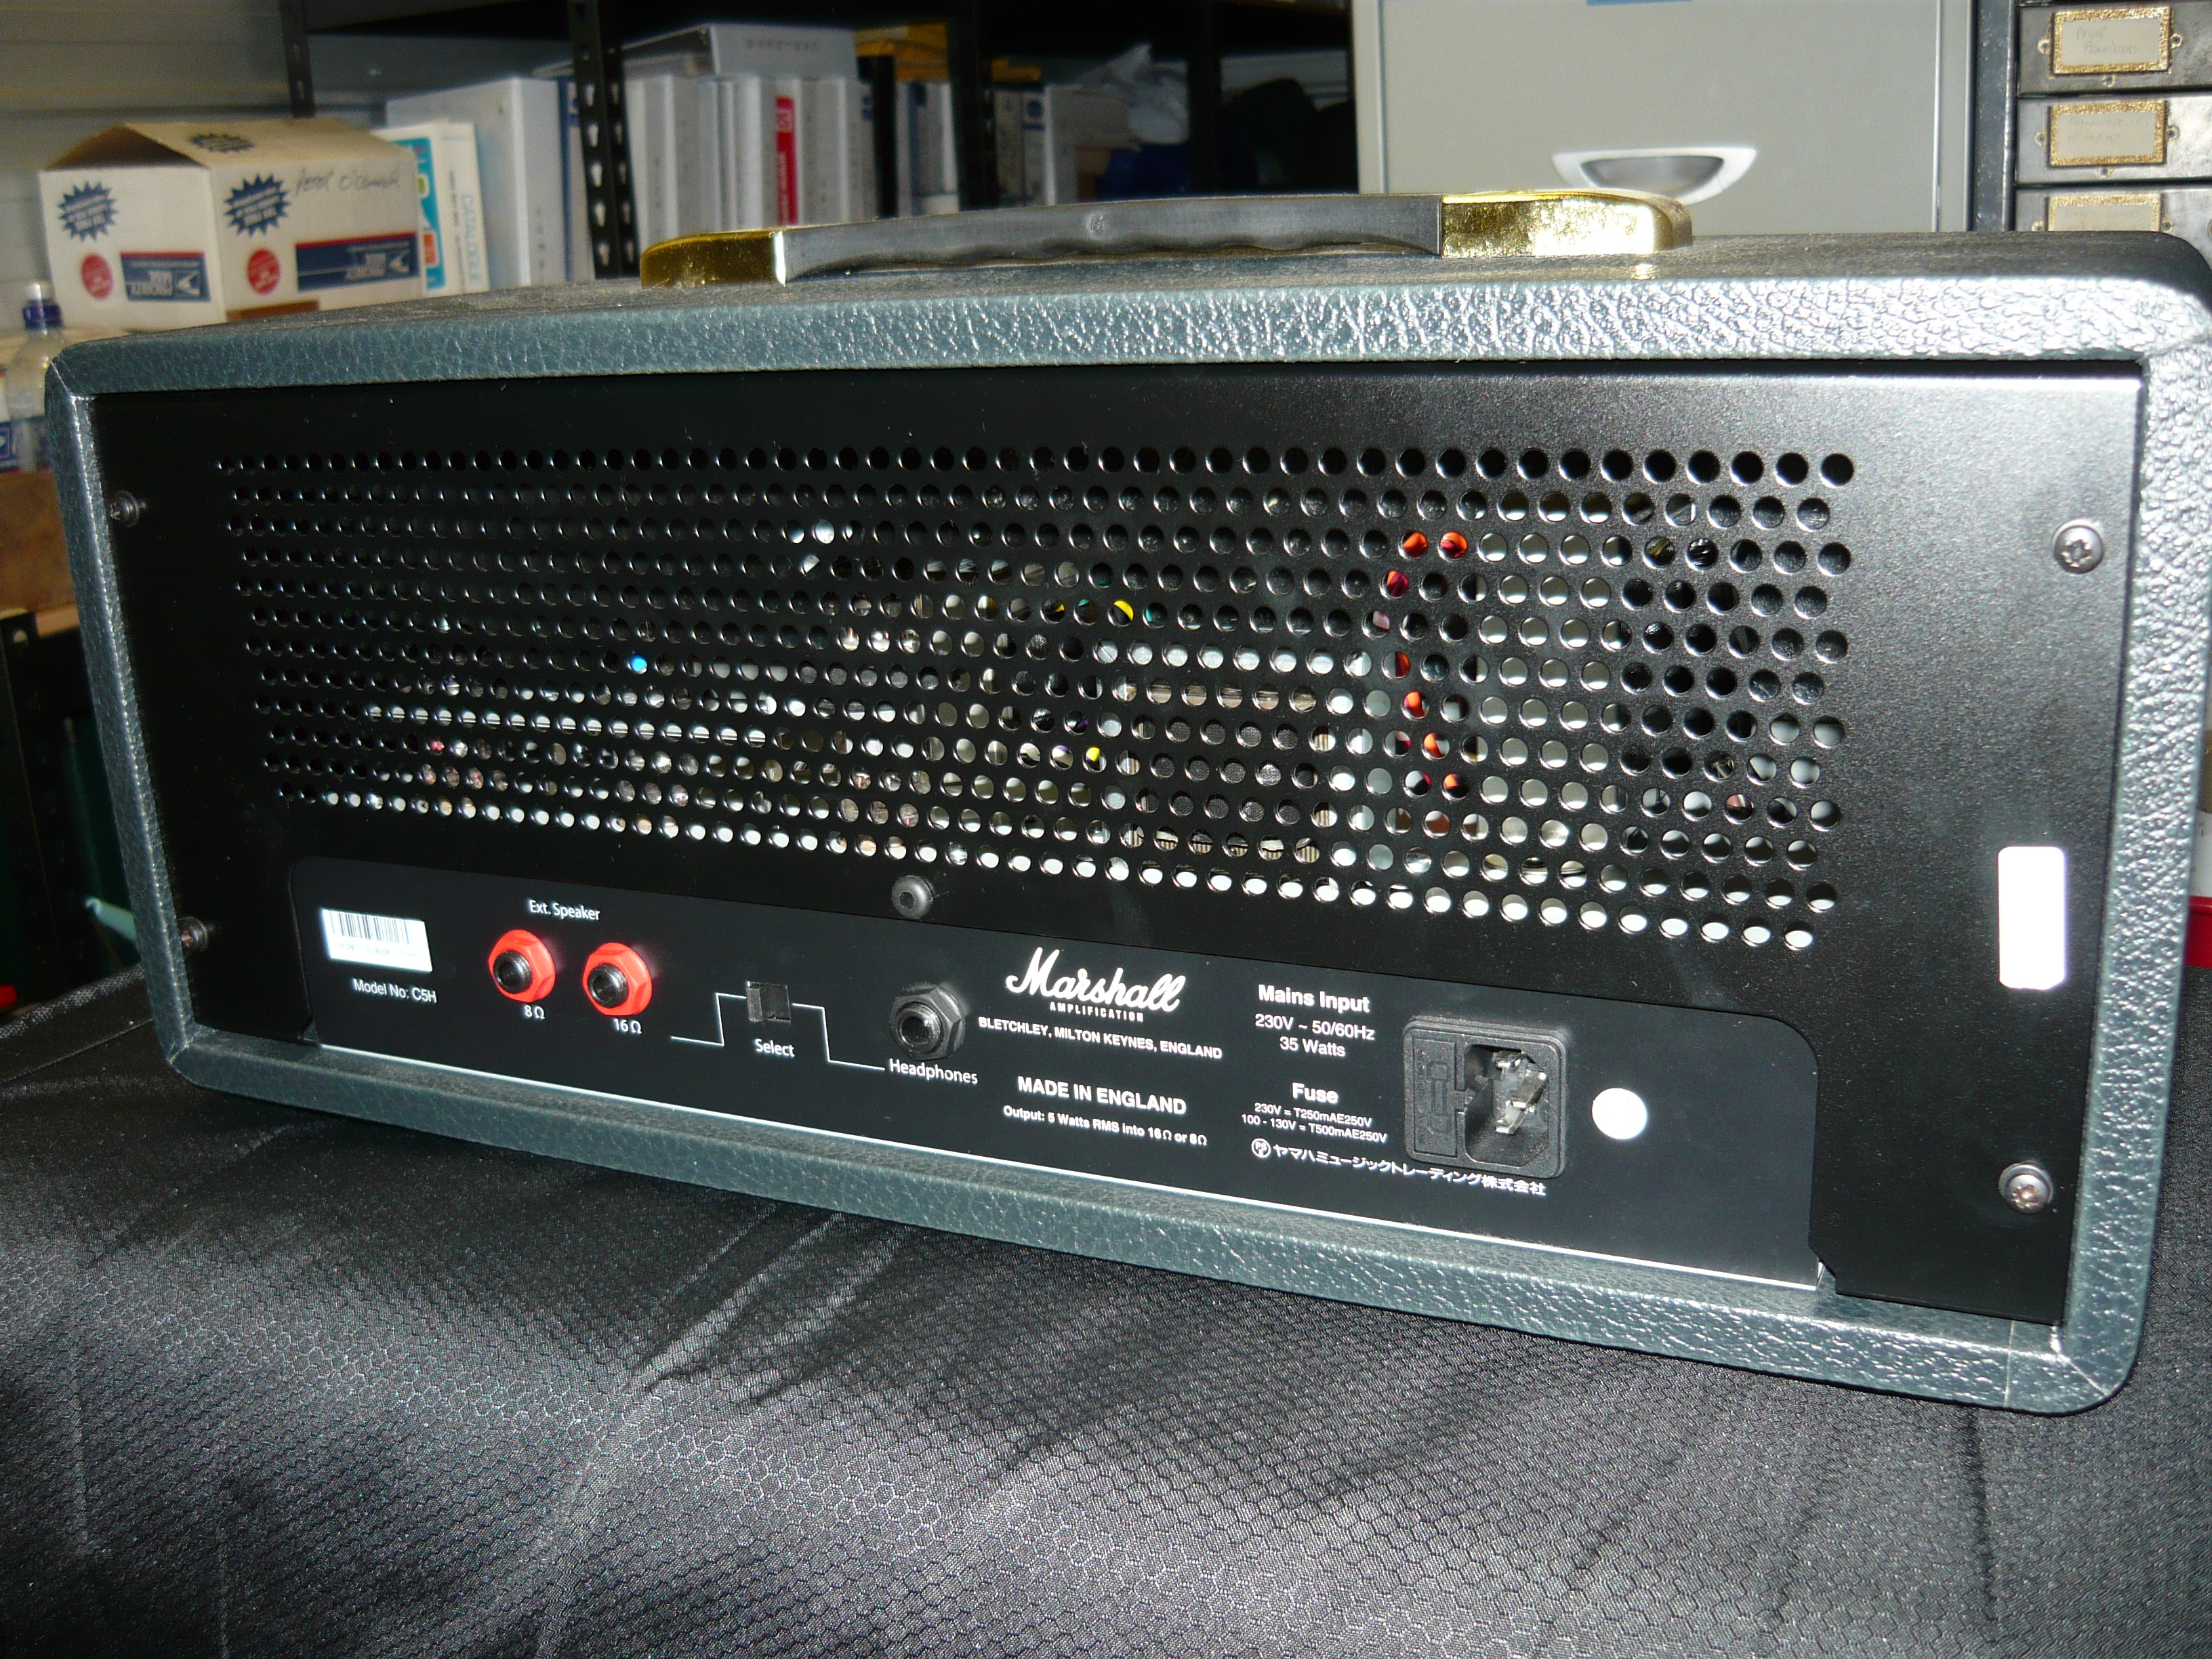
C5 p.c.b. connections- looking to the rear of chassis
The VVR (Variable Voltage Regulator) is a relatively simple circuit that when installed in an amp such as the C5, will make the high voltage DC supply (usually referred to as HT, HV or B+) continuously variable from the maximum normally available from the amp’s existing power supply, to a minimum level which is preselected by changing resistor values on the module. In other words, by electronically varying the high voltage supply within the guitar amp, we succeed in reducing the audio power output of the amplifier from its design maximum to a preset minimum.

the VVR module requires 2 x additional chassis holes
The VVR module employs a high-voltage power Mosfet device such as the NTE2973. In most cases it will need a heatsink, and ref the C5 bolting the Mosfet to the chassis is quite adequate. Thus we will need to accurately drill/punch 2 x additional holes in the C5 chassis – 10mm for the VVR control mounted conveniently to the front panel, plus 3mm for mounting the Mosfet, which must also be insulated from the chassis.

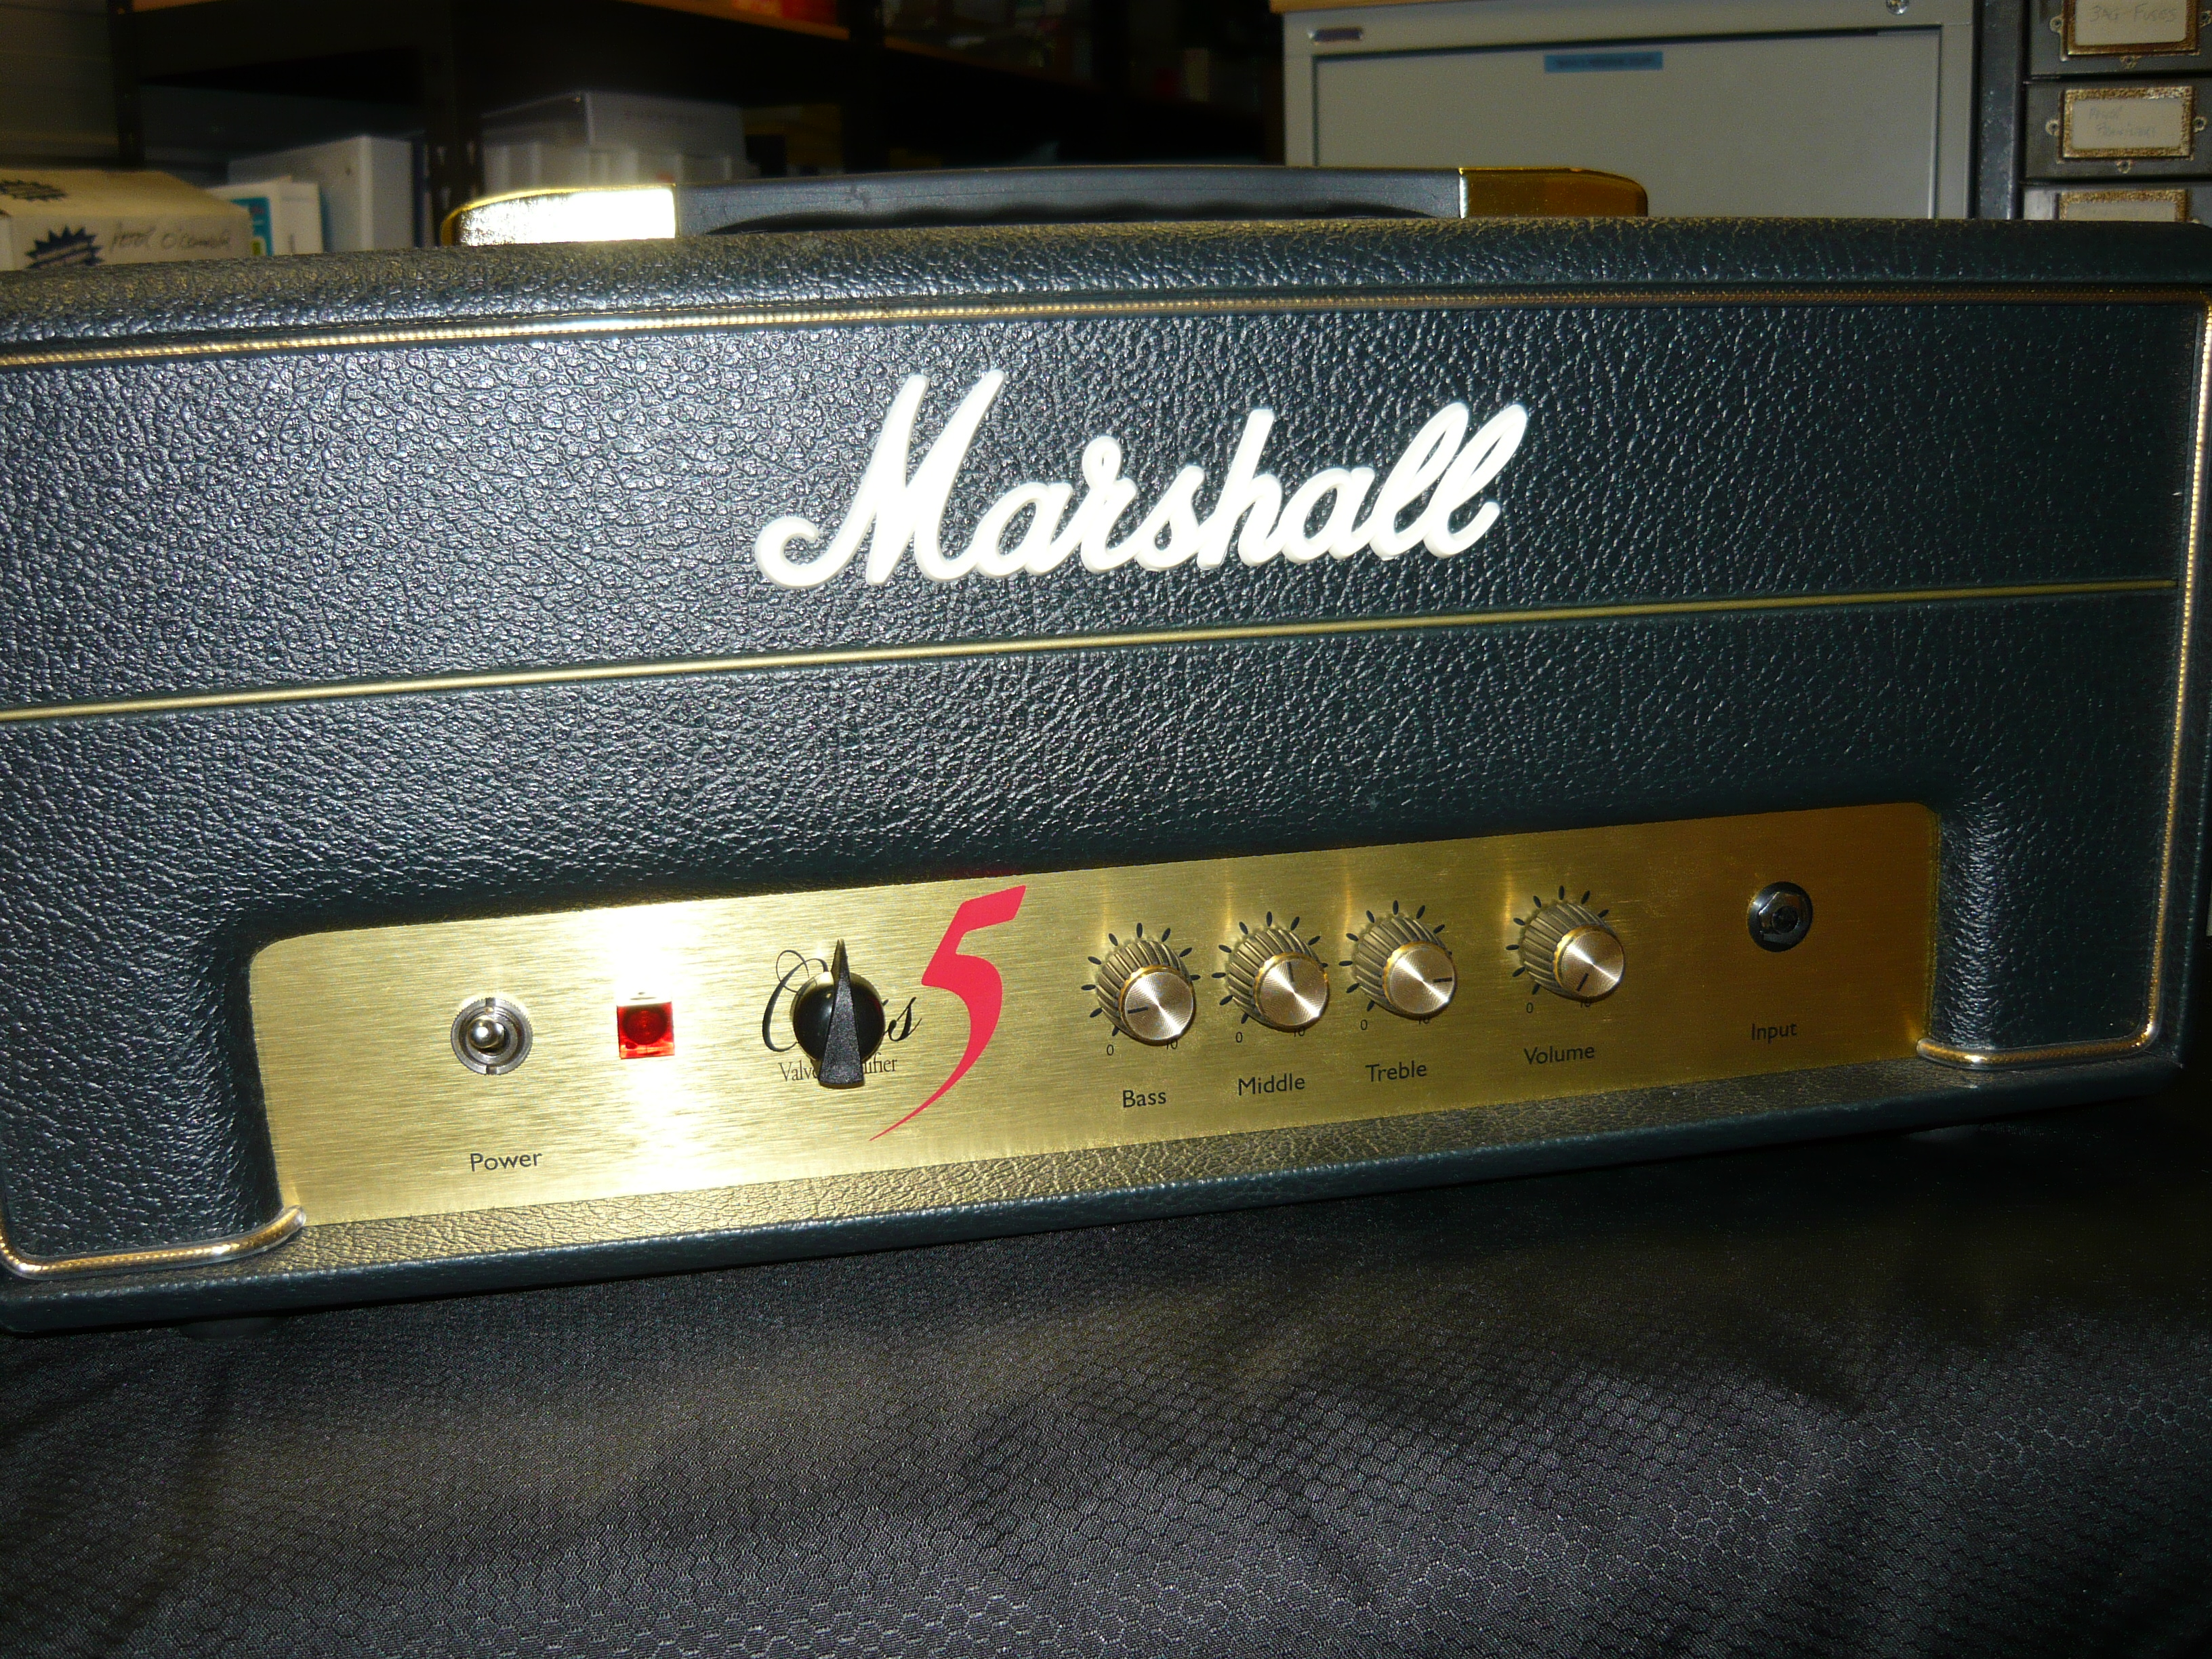
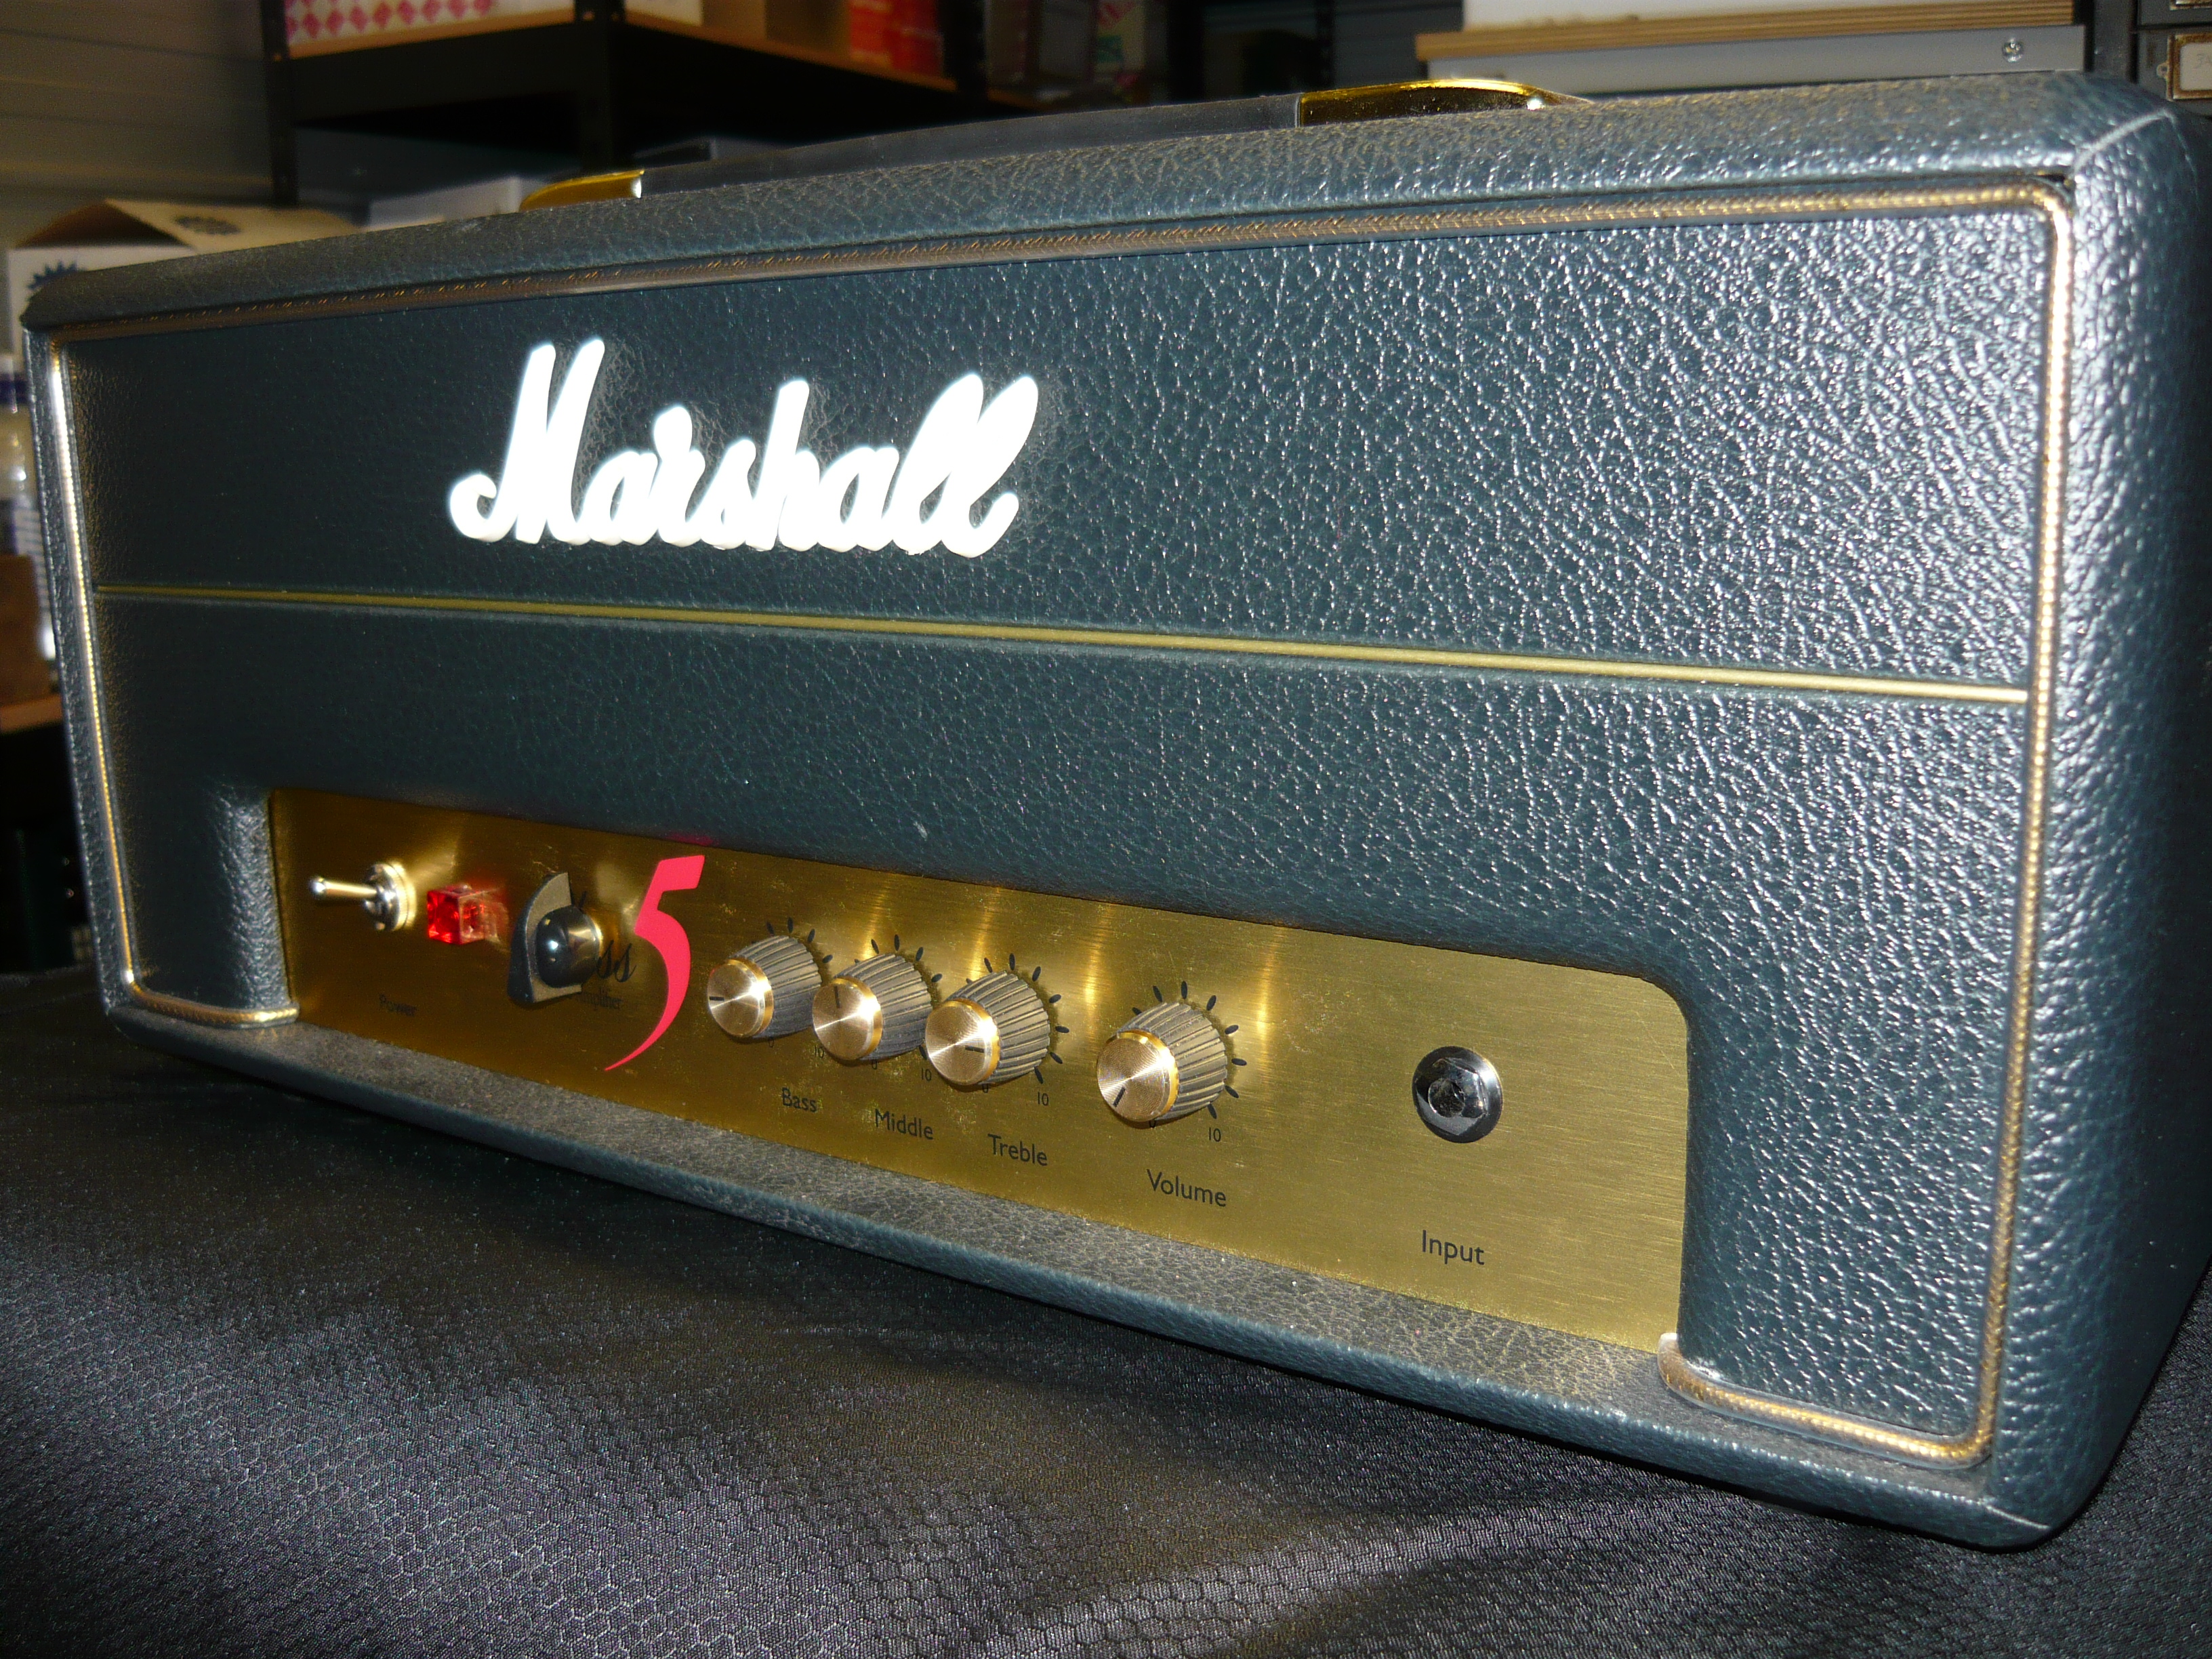
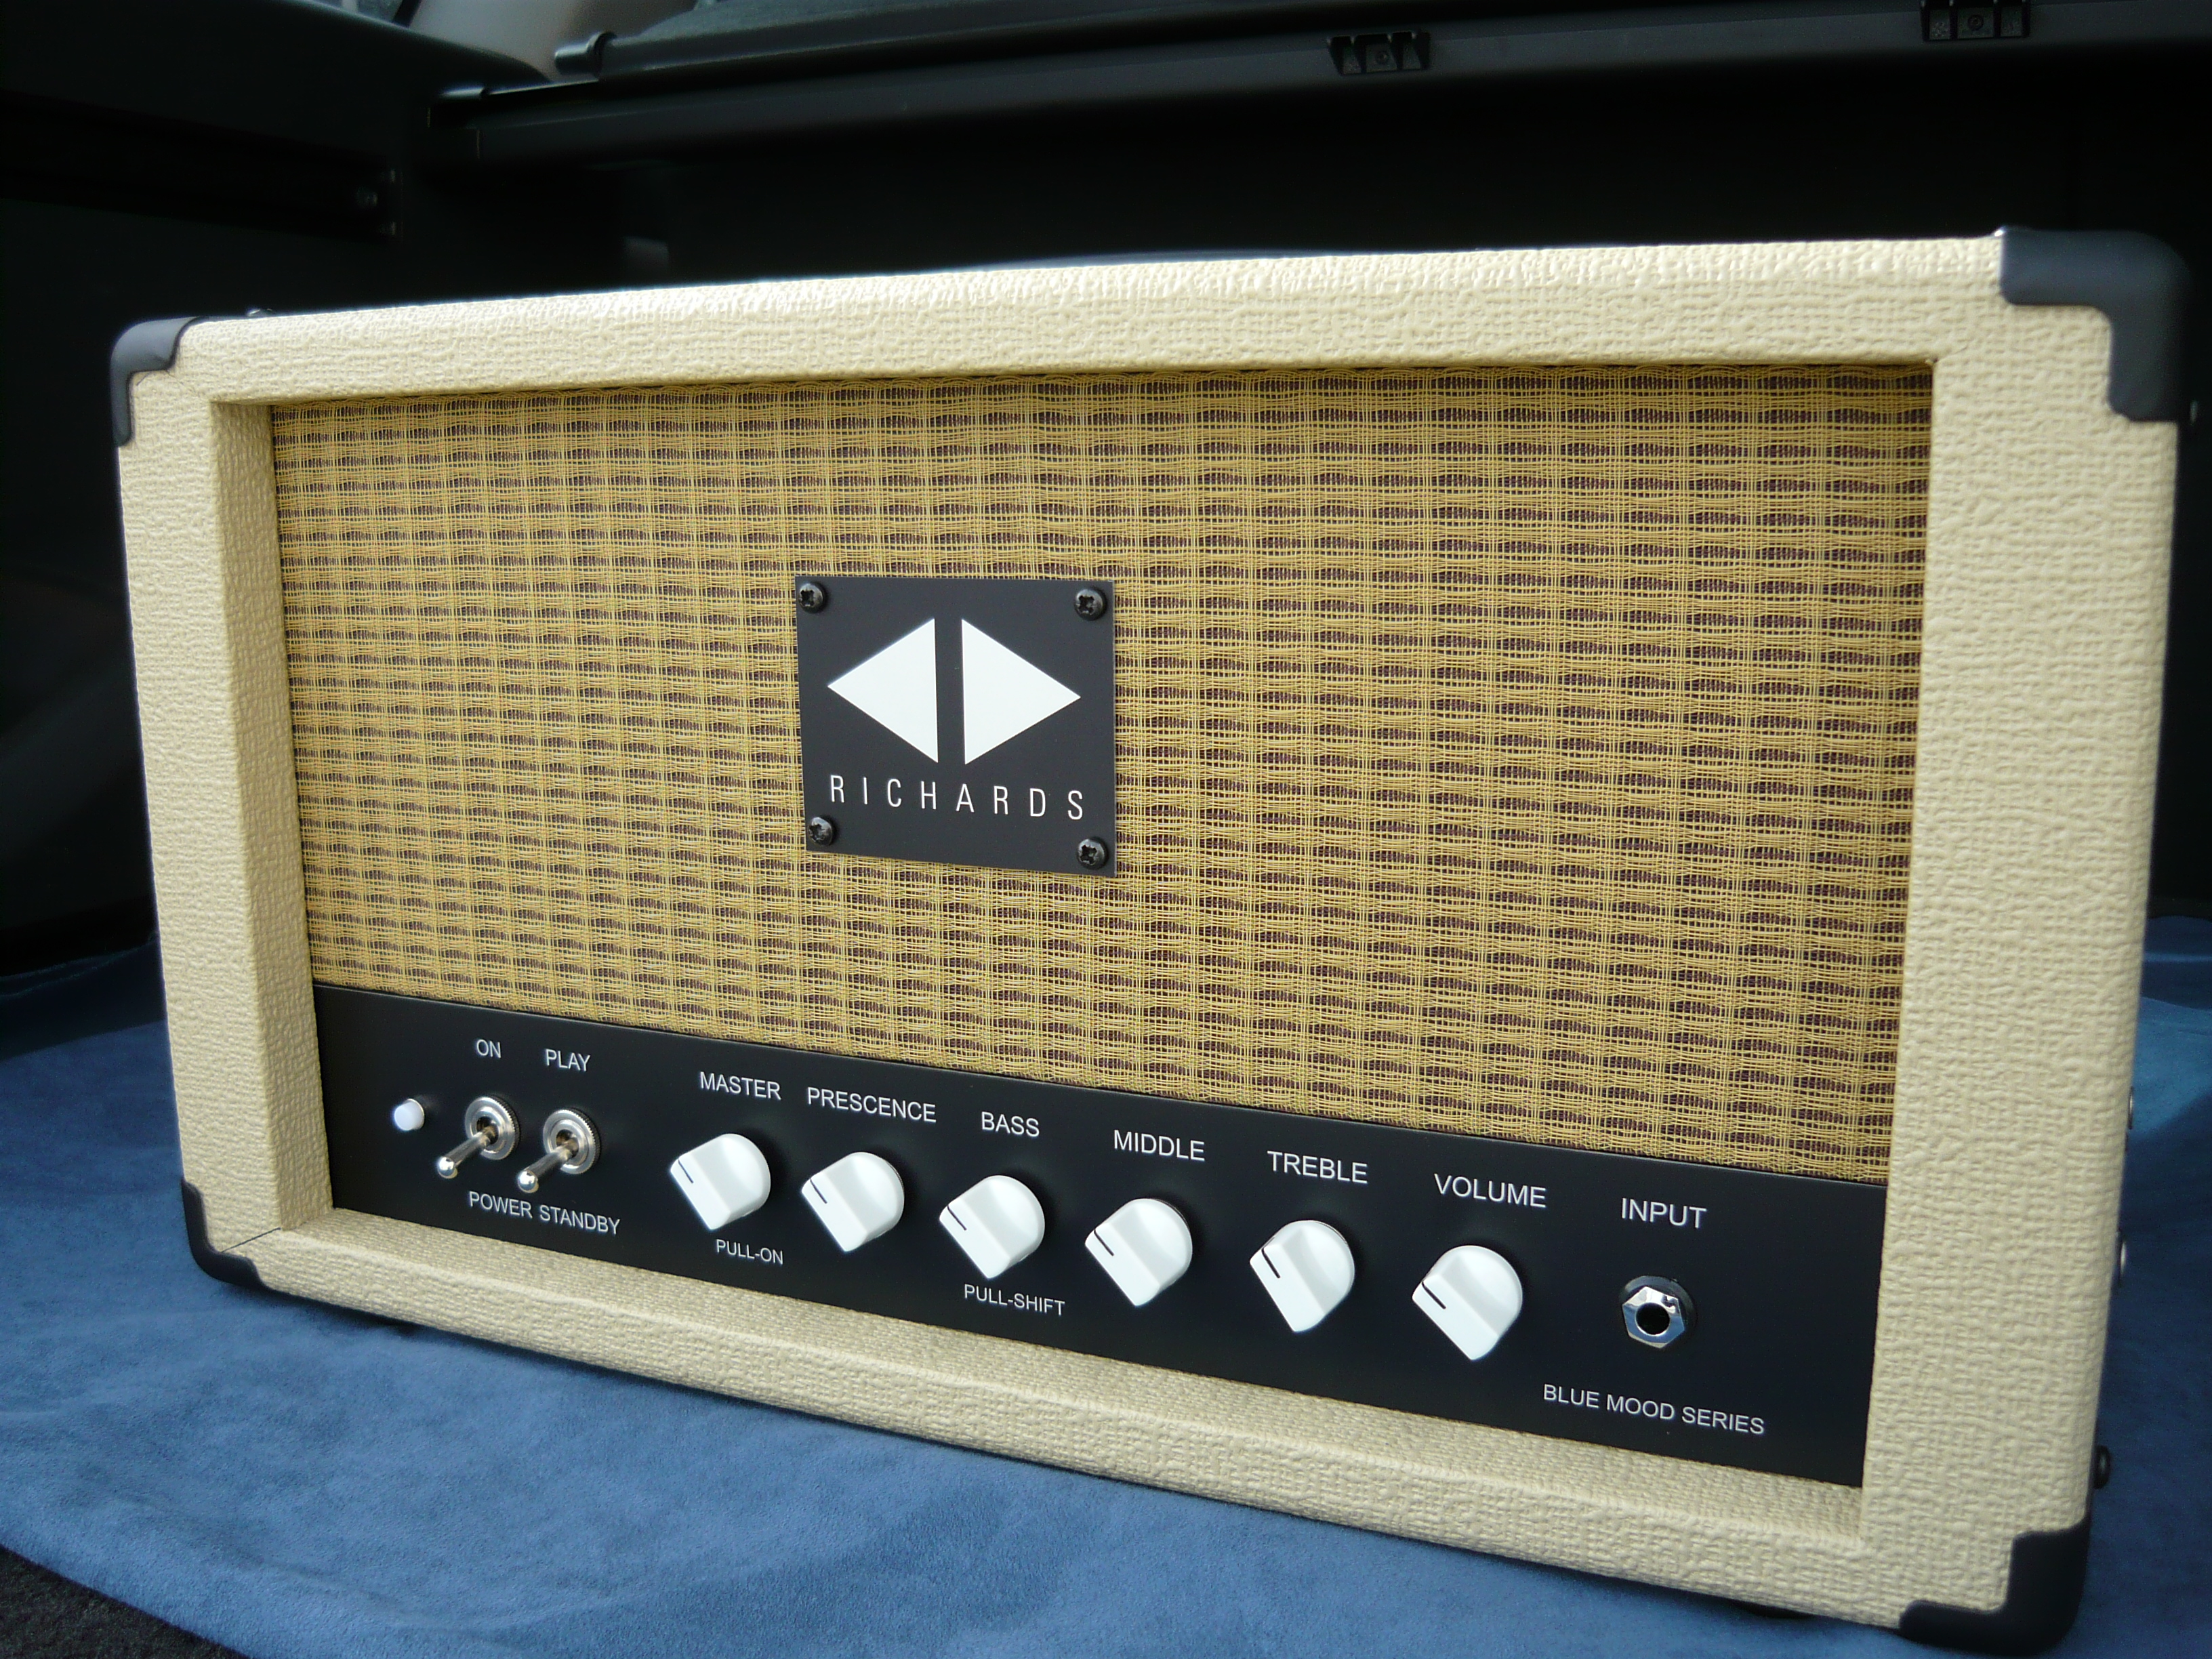
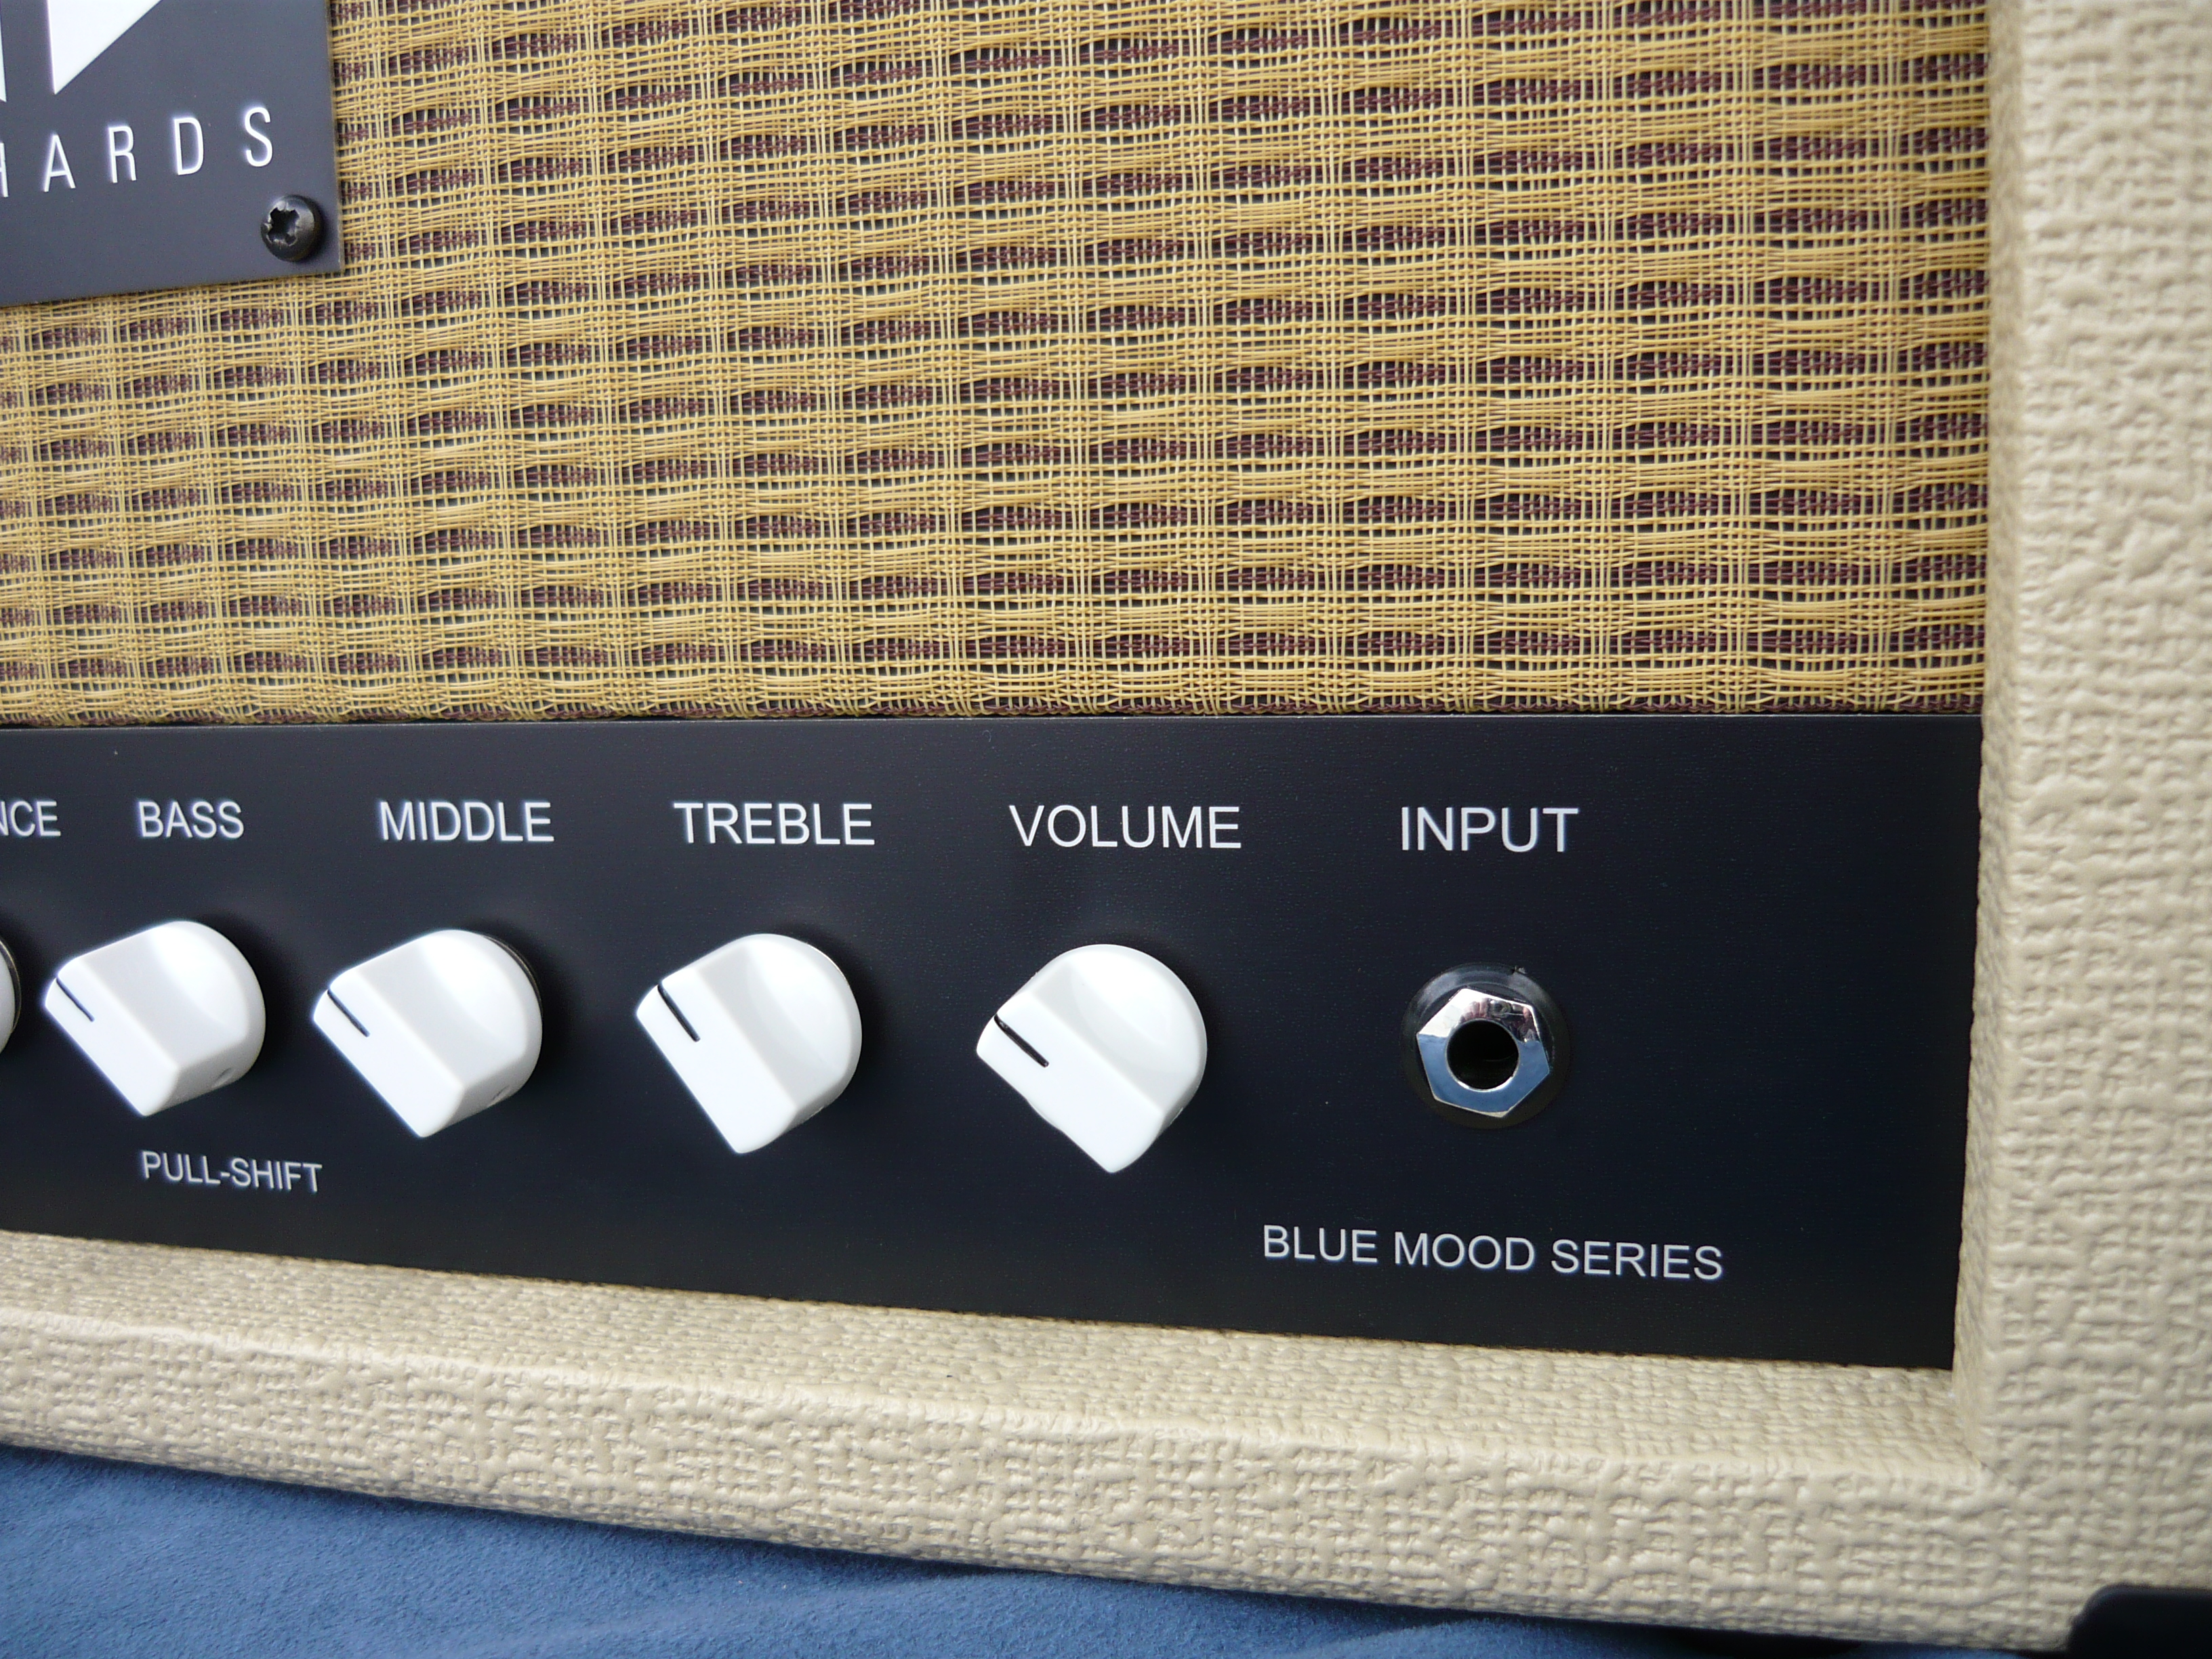
C5 front panel – the VVR control installed
It just happened that a convenient place to install the VVR control is right where the Class 5 logo appears. It doesn’t look too bad actually, and our customer was happy with that, however it is an issue to take into consideration. We didn’t have any suitable Marshall-style control knobs to suit, so we ended up using a small “chicken-head” knob from Cliff.
Any of the power amp attenuation devices such as the VVR or London Power Scaling (for example) will solve the problem of reducing power for playing in the home, as will speaker attenuators such as the THD Hotplate & so on, in the latter case the amp still runs at normal power levels but the output is attenuated before it reaches the speaker. In spite of all the hype about some of these devices, they DO have a quite noticeable effect on tone & performance – it’s inevitable ! By definition, reducing the available voltage to the valves (tubes) will impact on dynamics & tonality – the various types of output valves in common use in guitar amps will sound & behave differently at different B+ voltage levels. Lower voltages particularly impact on the low frequency response of a given amp design.
We are happy to install devices such as the VVR in your amp (where appropriate) – just keep in mind that there is a trade-off.
By the way – our customer just loves his upgraded C5 amp now ! IR.
Warning !
While the VVR described above is a simple circuit it is not a simple MOD to install. It should only be installed by a suitably qualified amplifier service technician.
Valves [vacuum tubes], transformers, capacitors, amplification circuits found within a guitar amplifier operate at high voltages that can cause permanent injury, disability or death. Never attempt to repair, modify, test, work on or touch electronic equipment unless you are trained or otherwise qualified to do so.