Mercury Magnetics power transformer (example)
During the times that the Aussie $$$ has achieved parity with the American $$$, or close to it, there has been a surge in Aussie musicians purchasing amplifiers & other electronic devices direct from the USA, either from Ebay auction or sometimes direct from dealers. No doubt, even taking shipping costs into account, this has saved those musicians a considerable amount of money.
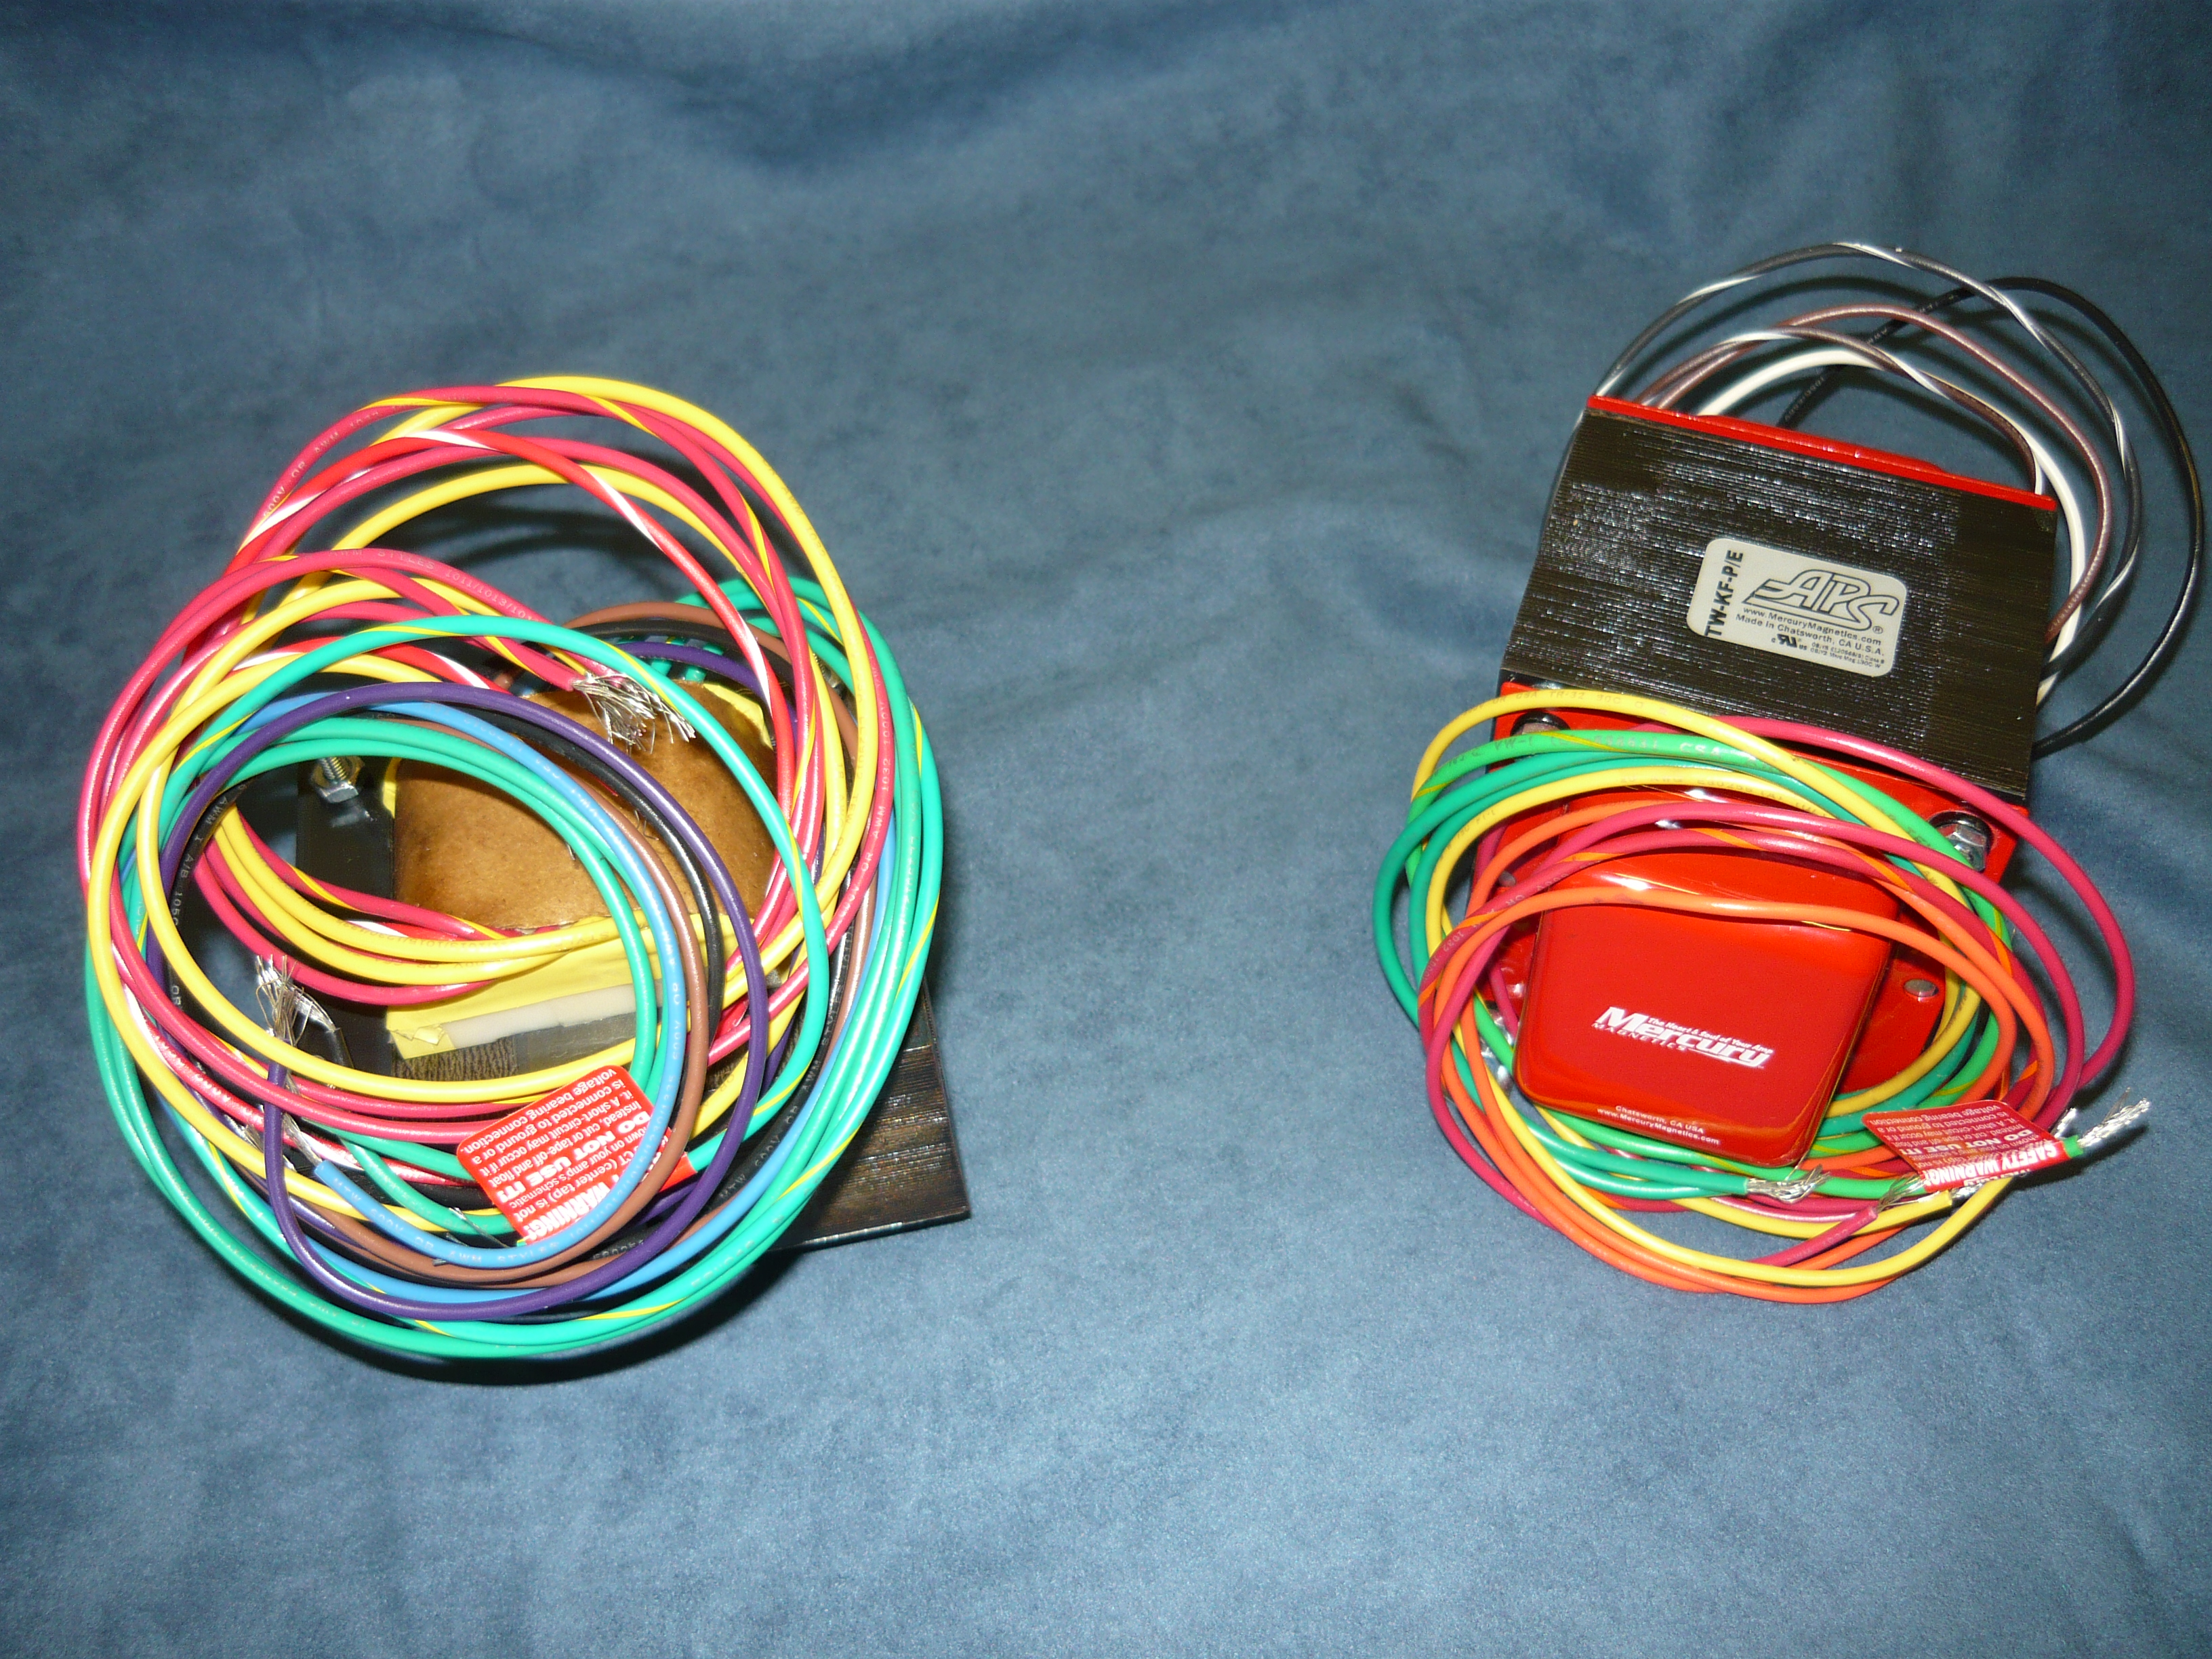
MM transformers (example)
However, there is a potential trap for the unwary when sourcing mains-powered devices from another country. Many of these devices will be wired for 120V AC mains operation, but of course here in Australia our power at the wall socket is in fact 240V AC (sometimes higher). Many unwary purchasers have simply plugged their latest acquisition into the 240V and have at the very least blown the fuse, but in some cases causing considerable damage to the device in question.

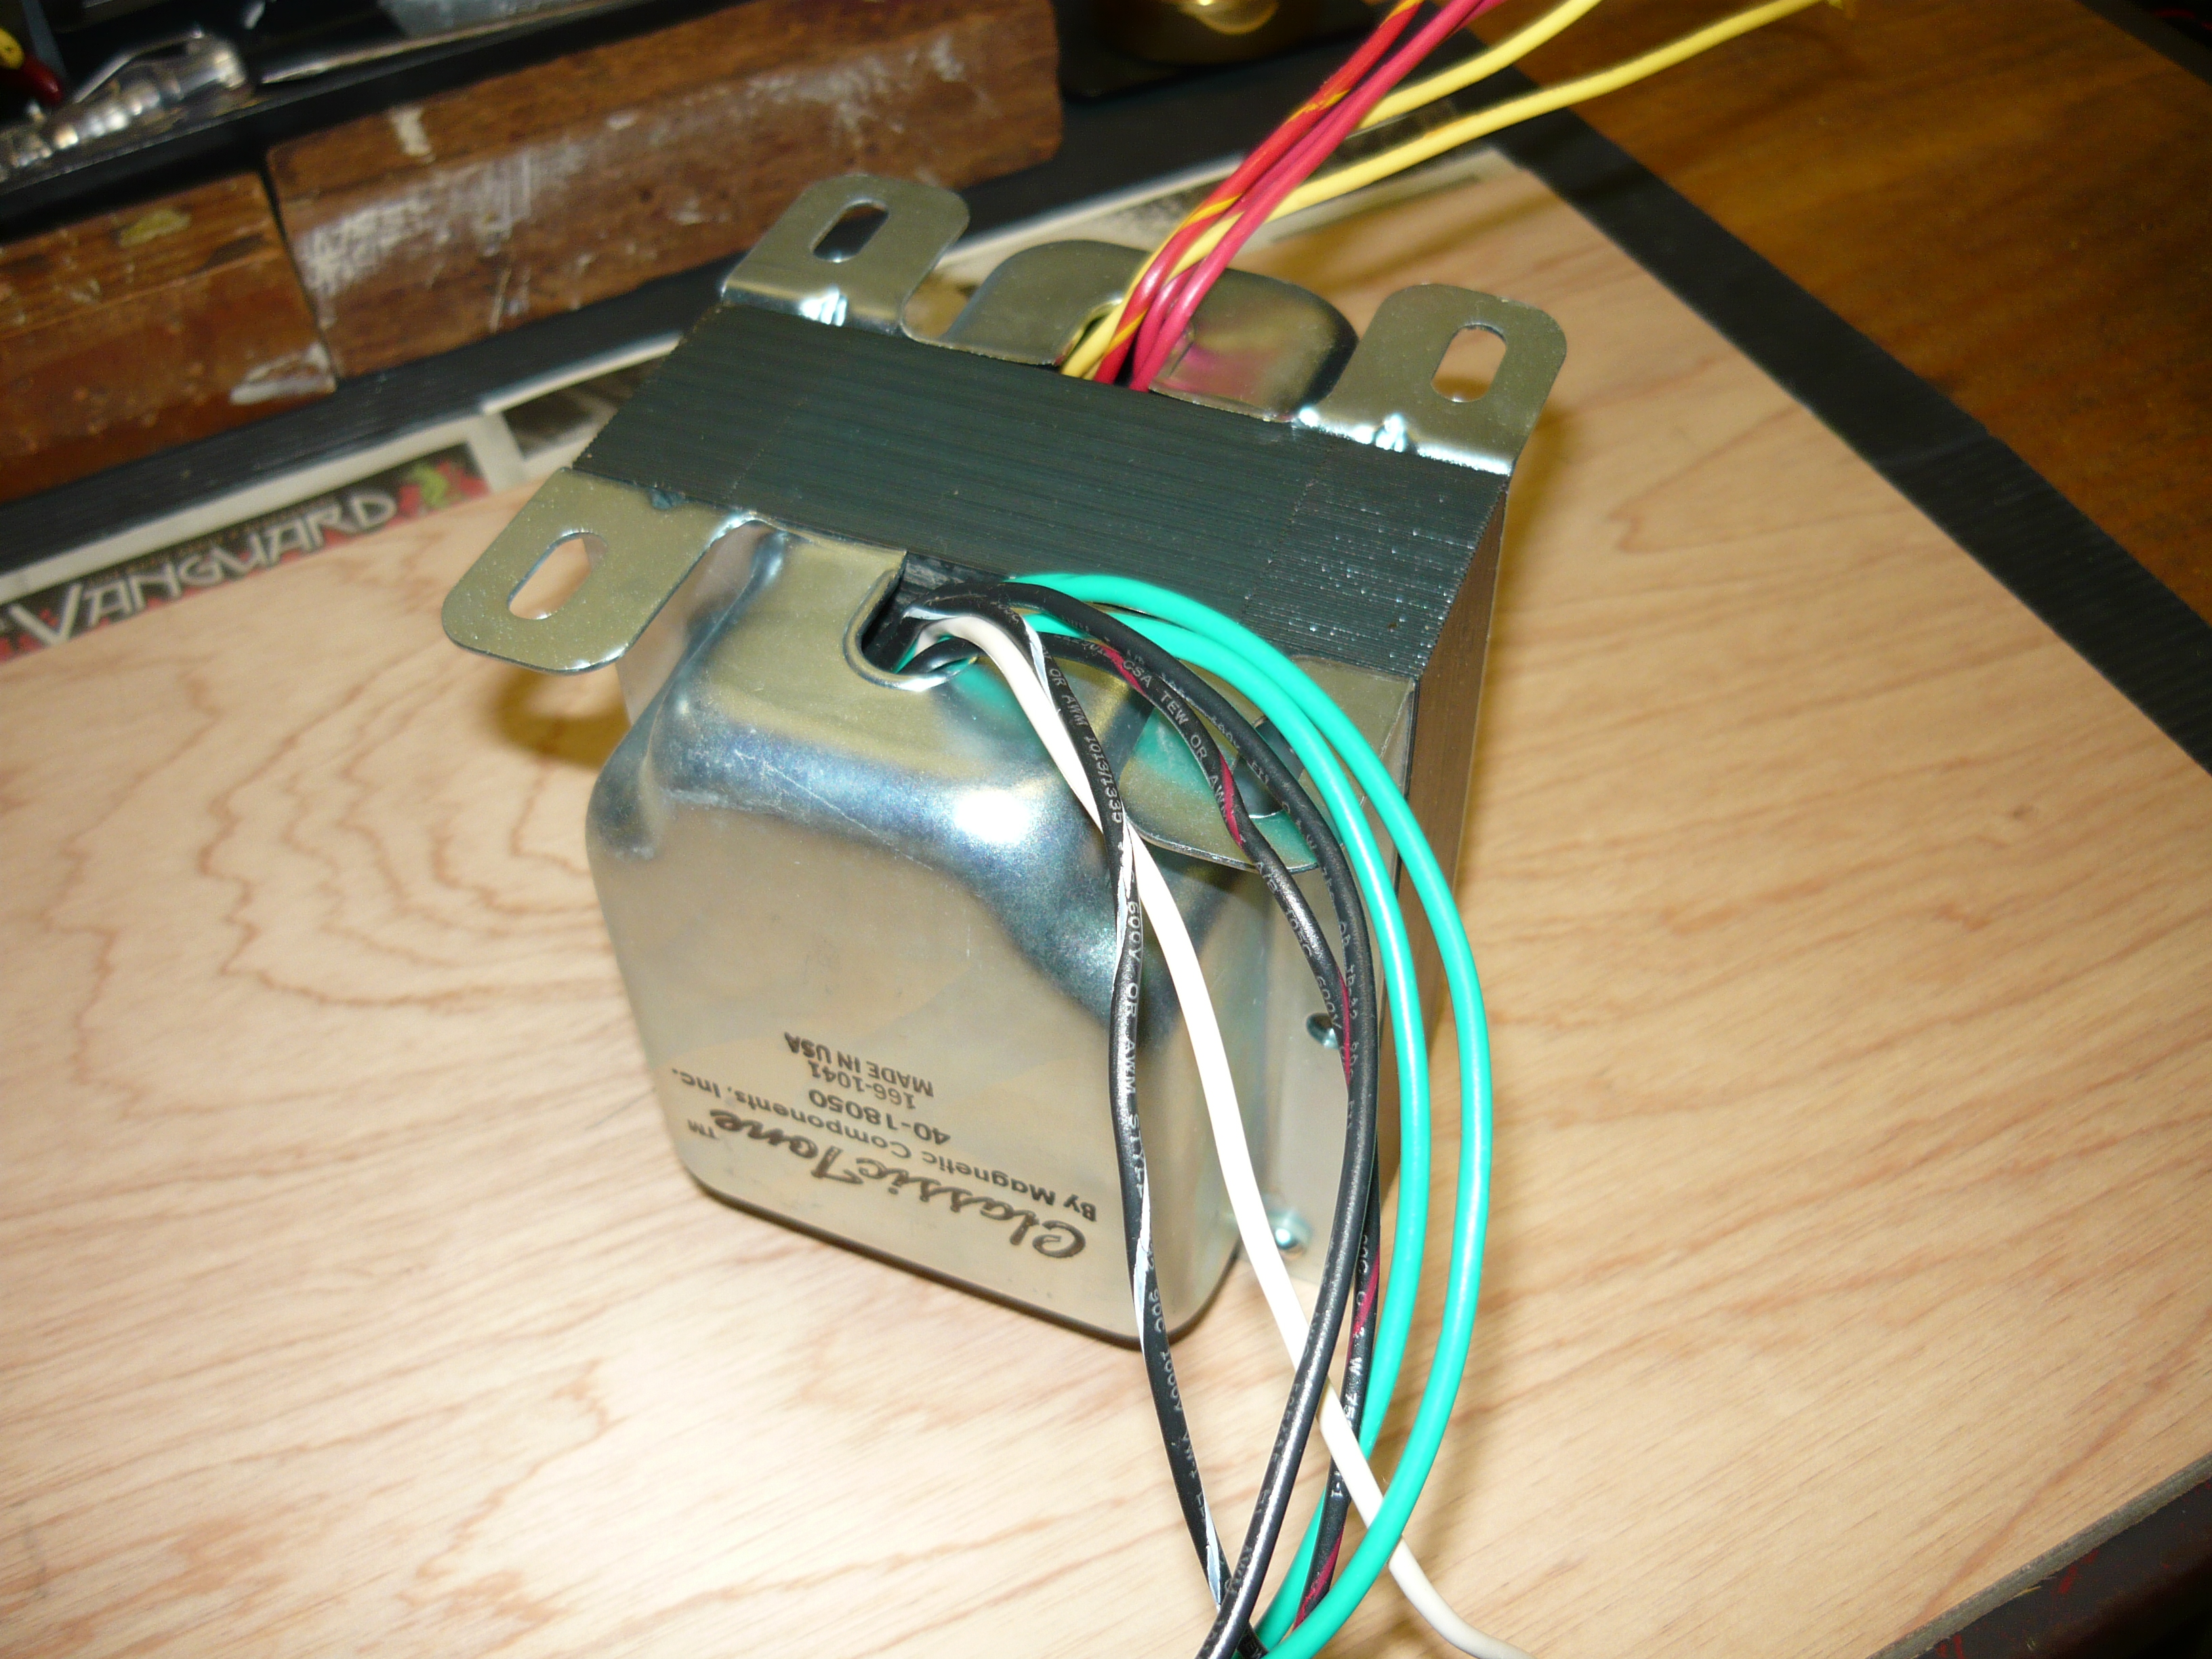
MM power transformer, laydown style (example)
One possible solution is to source a stepdown transformer from local suppliers, ie this is a transformer within a suitable metal casing that converts the voltage from 240V to 120V AC nominal. There would would normally be a protection fuse and an American style power socket for your appliance (there may be stepdown transformers out there for other voltages, for example Japanese 100V AC).

Vibrochamp 240V transformer installed
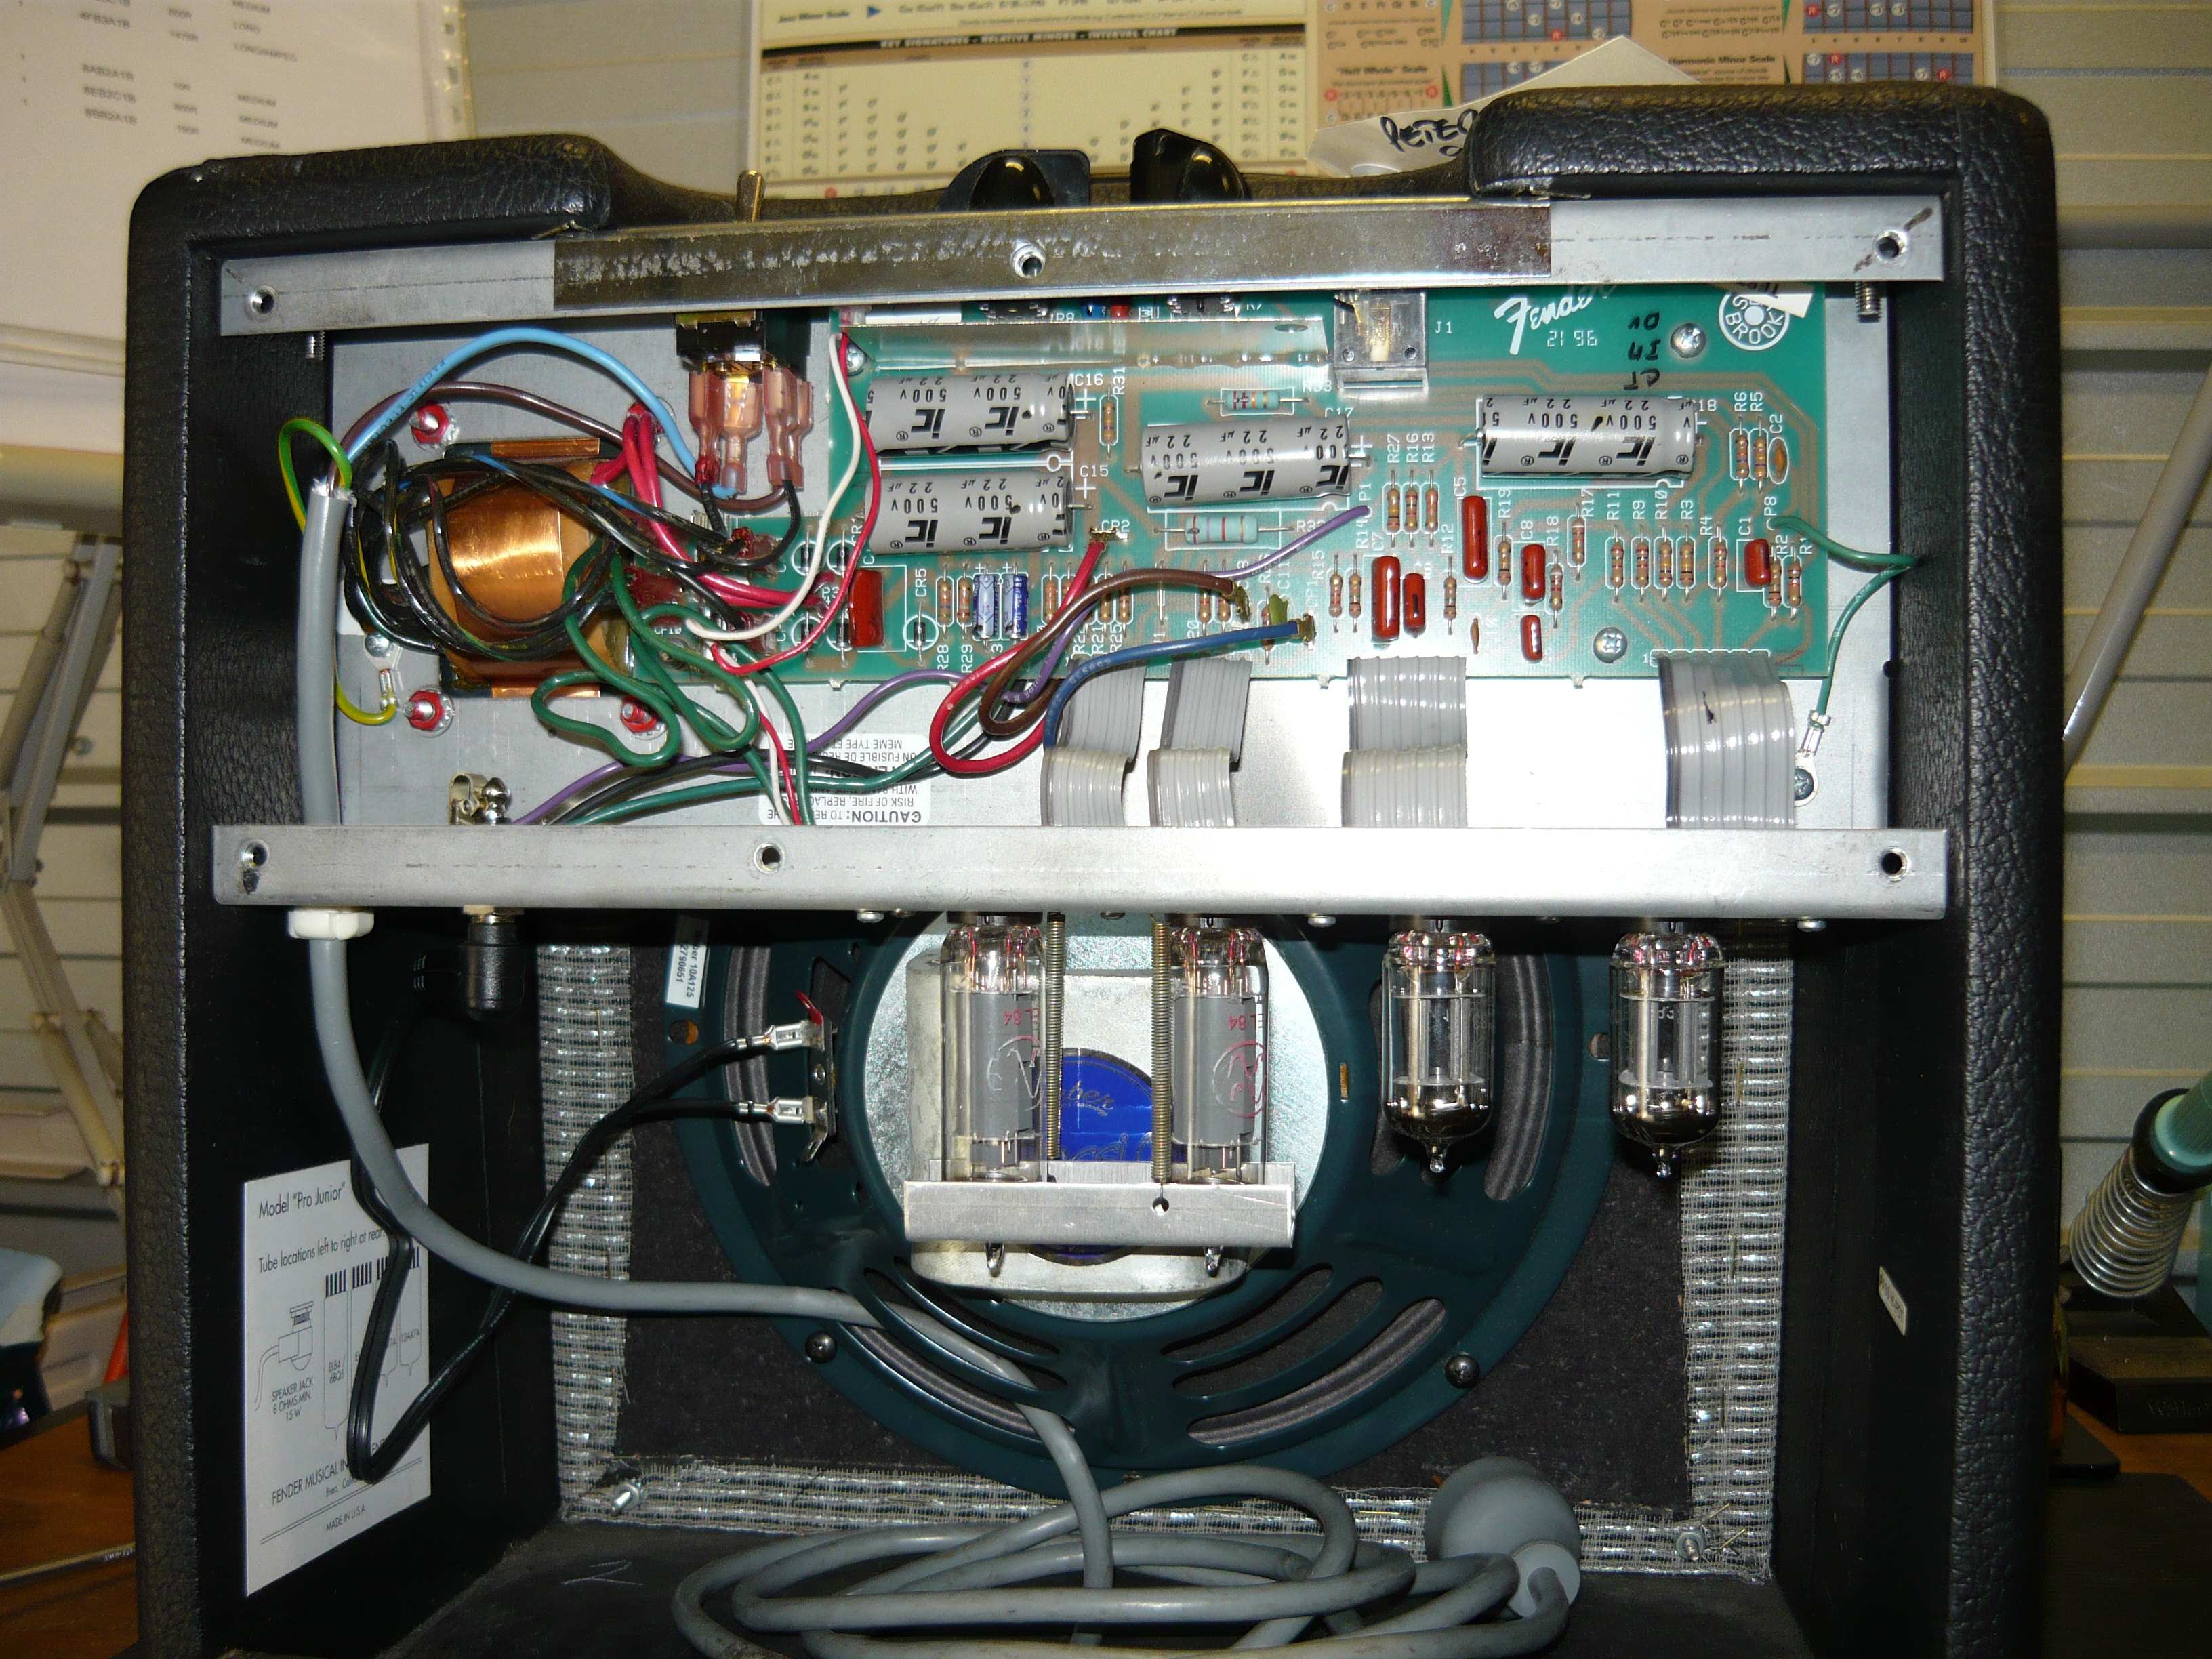
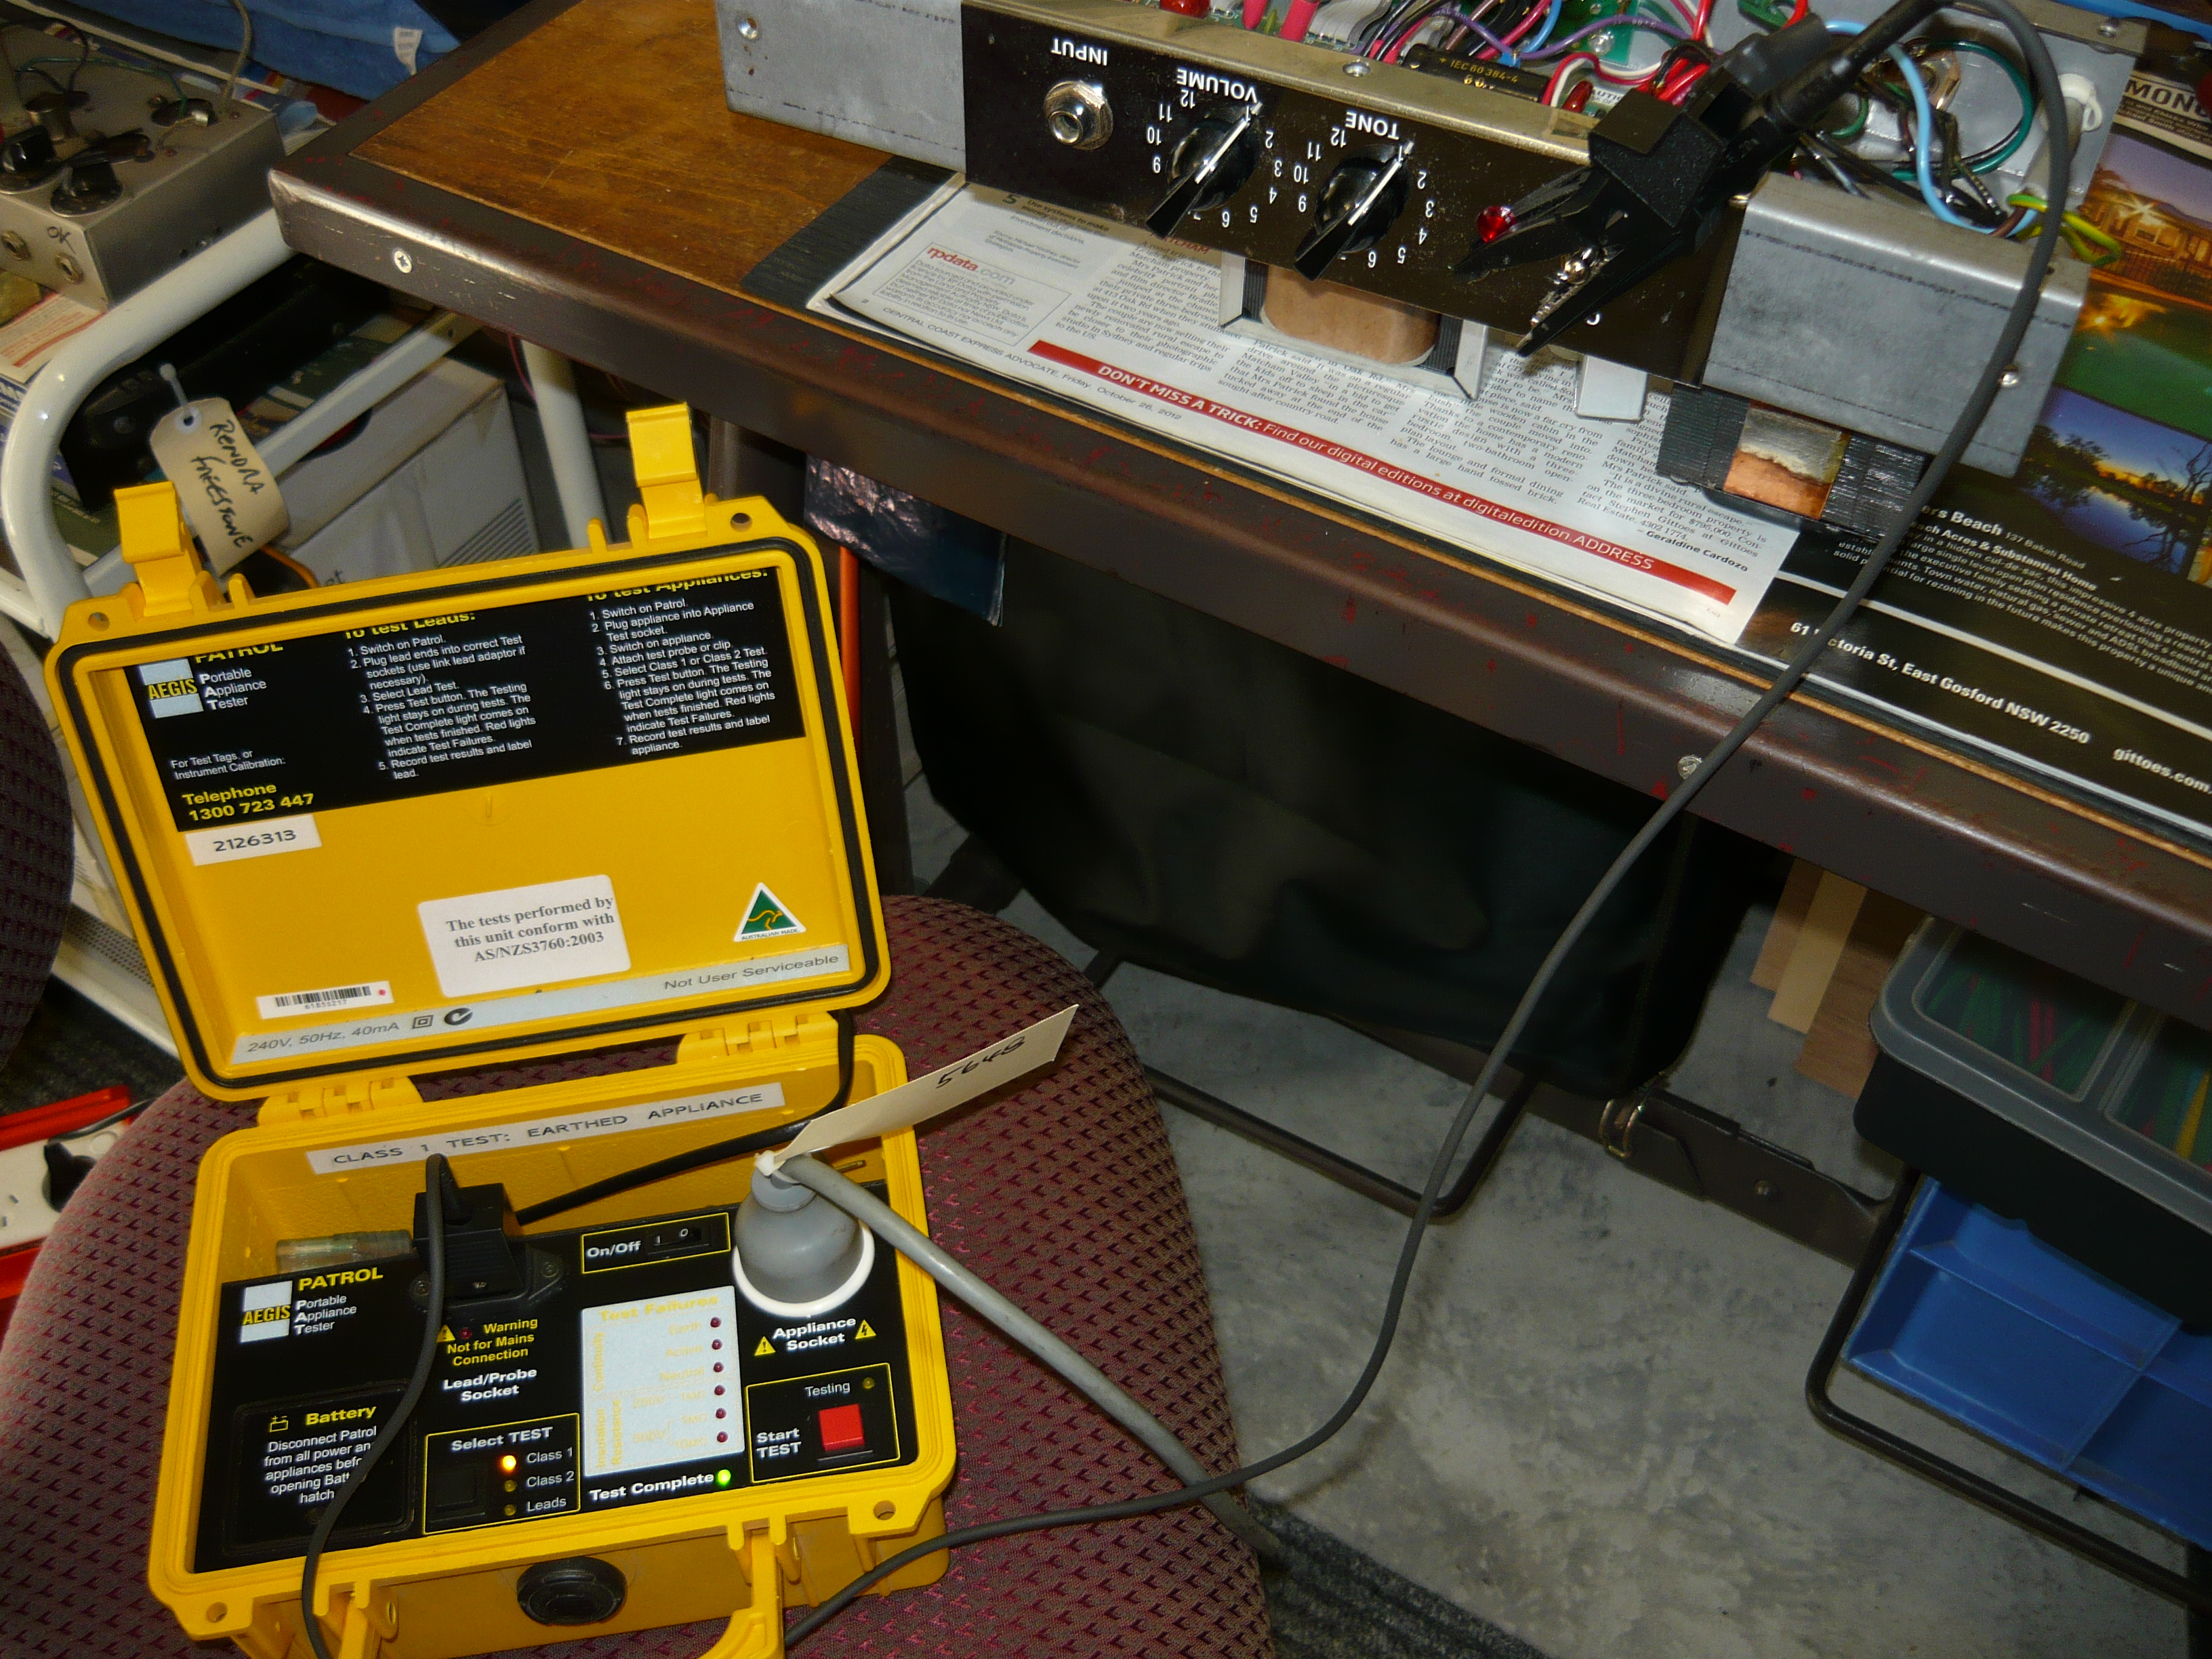
Anyone who goes down this path should definitely have their rig checked out for electrical safety, ie is the amplifier earthed to the 240V 3-pin plug ?? The reason we have brought this to your attention, is that we have uncovered a few examples of the earth not being extended through to the appliance (ie, the amp or other device). These discoveries were made during routine servicing of the amps in question, and came as quite a shock (no pun intended) to the owner.

Vibrolux power transformer installed
The most obvious disadvantage of this approach is the bulk & weight of the stepdown transformer, especially when powering a 100 watt valve (tube) amplifier. Plus, it’s an additional item that has to be carried around to gigs & rehearsals. Nevertheless, we have a number of customers who continue to use stepdown transformers, especially owners of Mesa amps, due to the inflated cost of Mesa 240V transformers in this country.

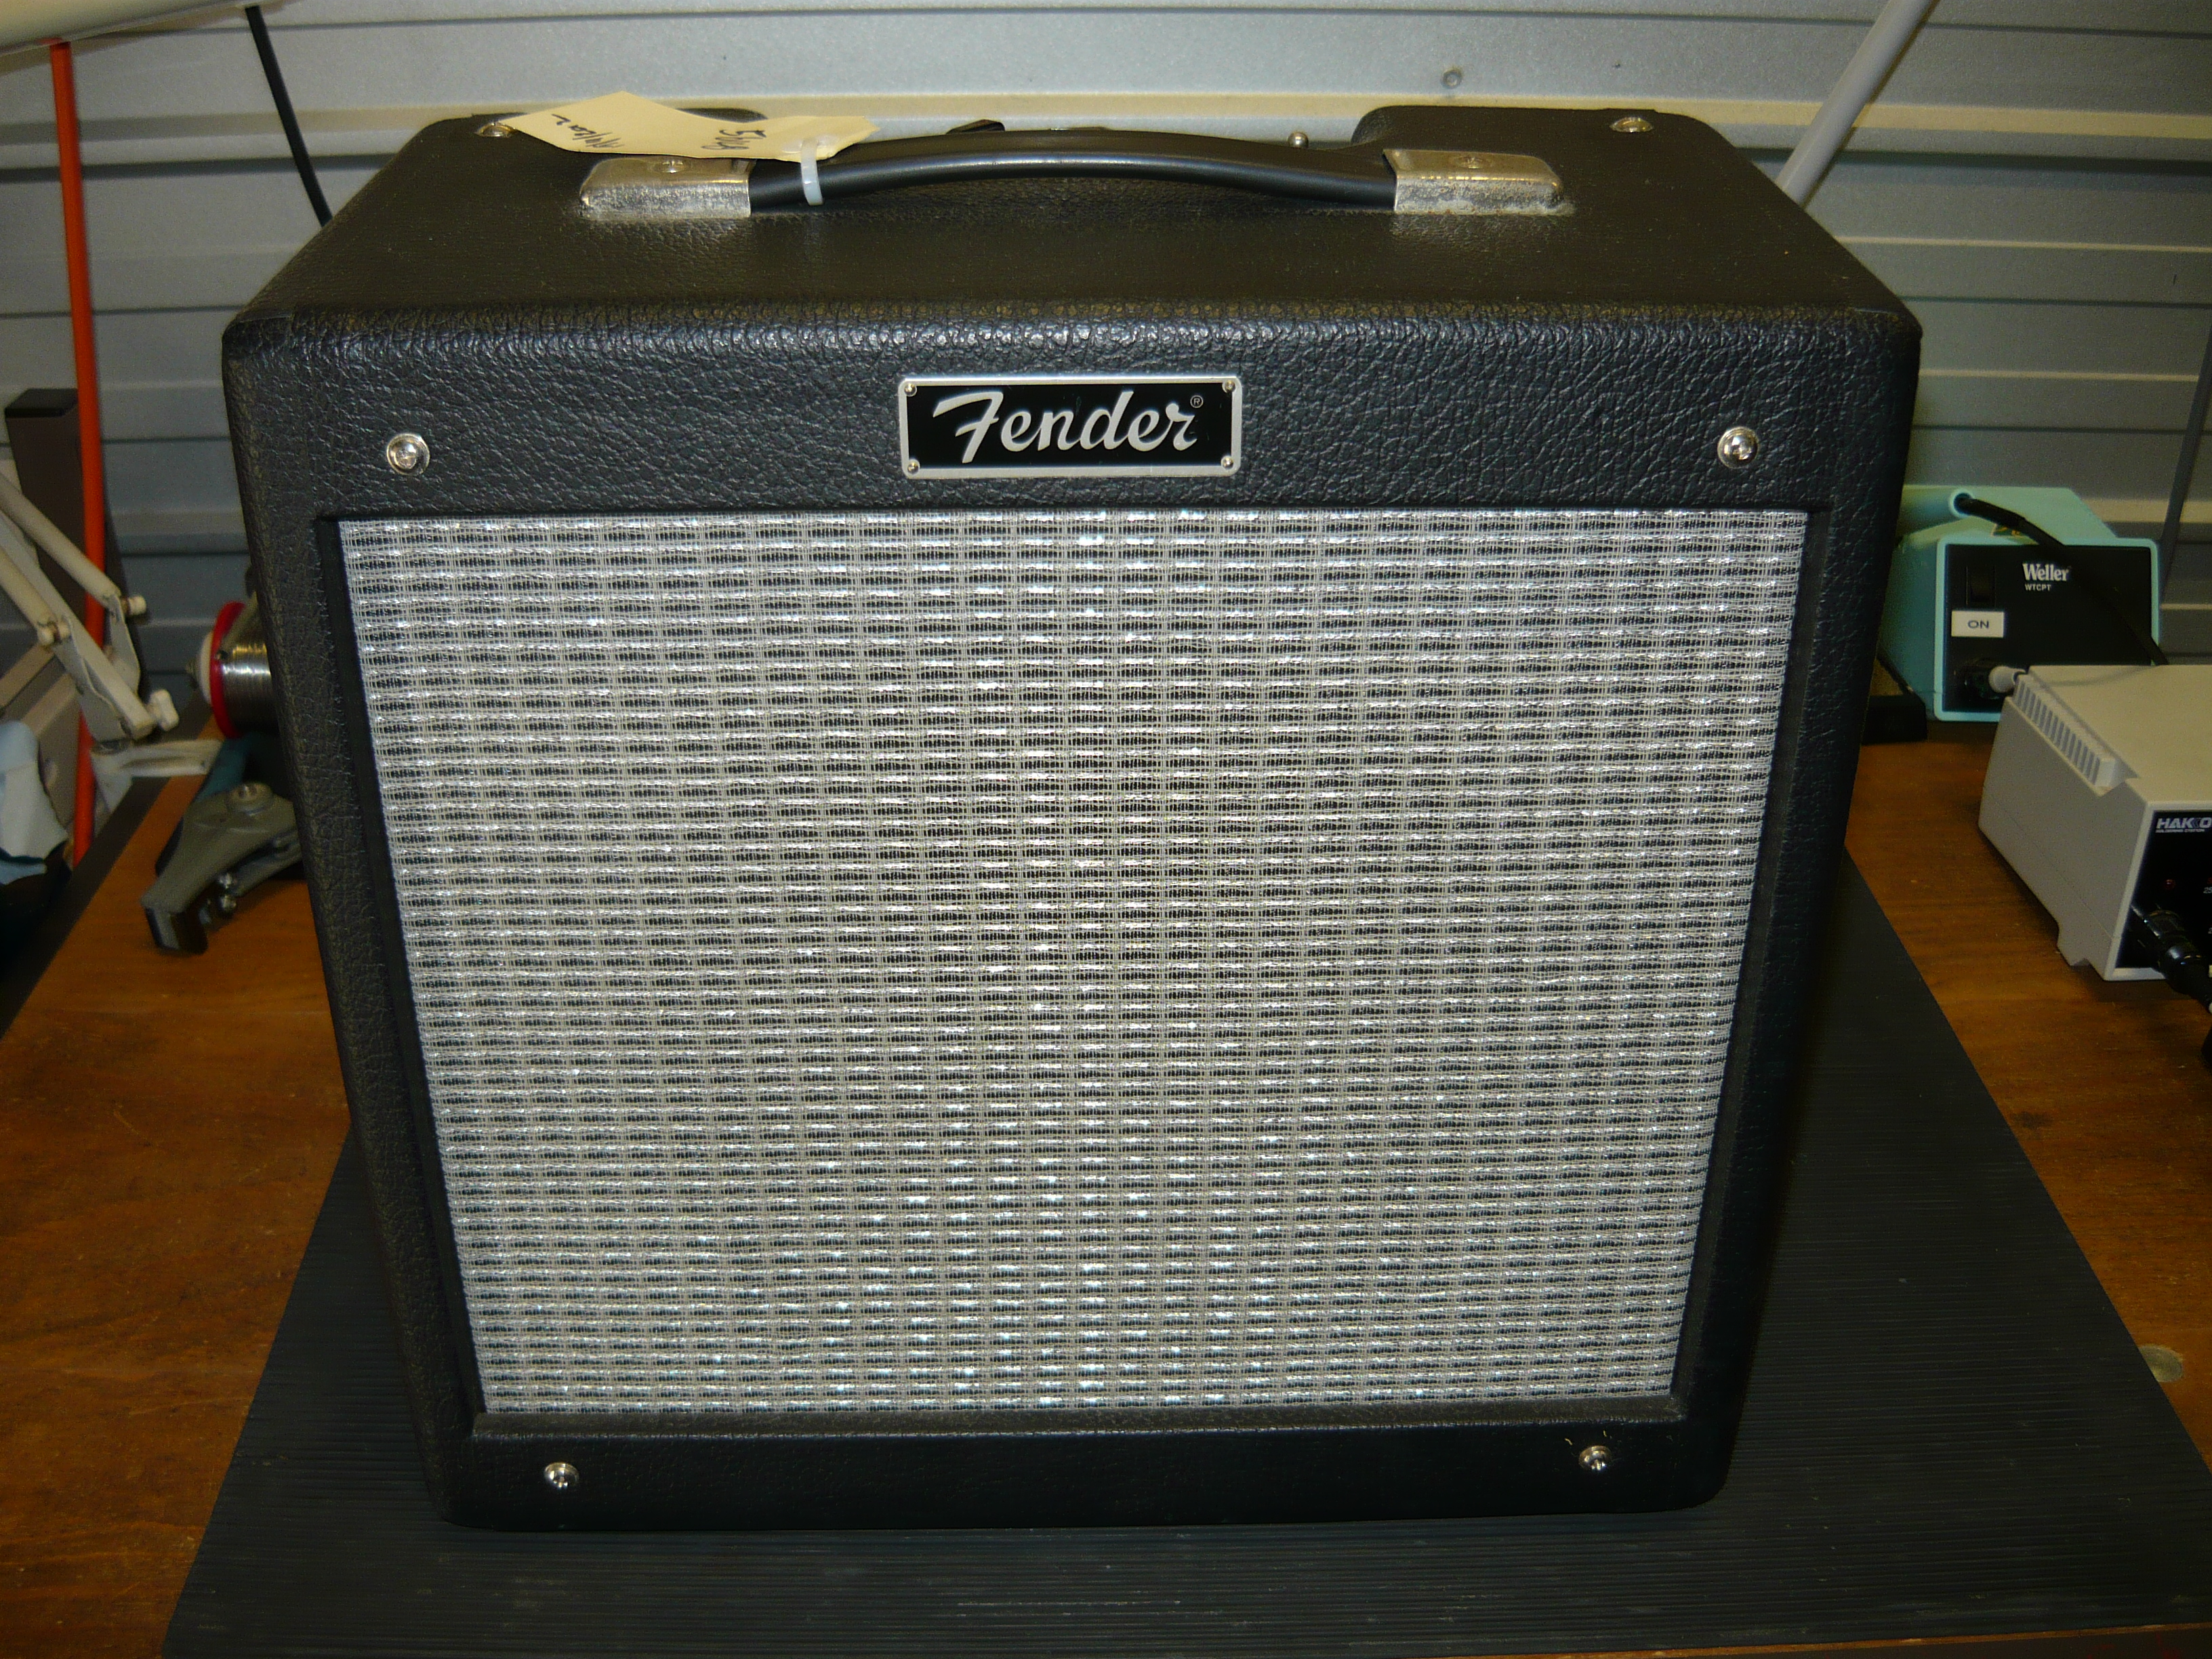
PAT testing Pro junior
Ultimately, the logical & professional solution is to upgrade the factory installed power transformer to a 240V model of the same spec and mounting arrangements. Note that there are some amps that have internal transformer connections for different voltages as standard, so rewiring is relatively straightforward. We can carry out an appraisal of your amp for you, to quote on the appropriate solution.
Magnetic Components AC30 power transformer
We have successfully upgraded transformers to models with global power wiring as supplied by Mercury Magnetics, Heyboer, Magnetic Components, Mojo, Hammond and so on. In the case of a toroidal transformer, we would normally consider a suitable replacement from Harbuch of Sydney, depending on the time frame.
Note:- for those of you out there that may have a Carr amp purchased direct from the USA and therefore operating on 120V AC via a stepdown transformer, we can offer a permanent solution by installing a 240V power transformer supplied by Carr amps via their Australian distributor. Please enquire.
While on the subject of Carr amps, contact us at amptech@ihug.com.au for world-class service and support, including full backup as required from Carr amps, USA. Our workshop is located in Wyoming (Gosford), New South Wales, just north of Sydney.
Mobile number for urgent enquiries is 0418 862 034 (within Australia), and 61 418 862 034 (international).